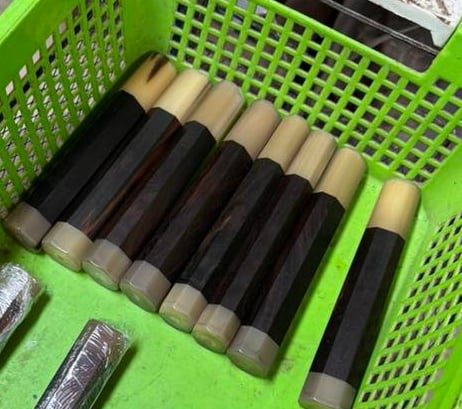
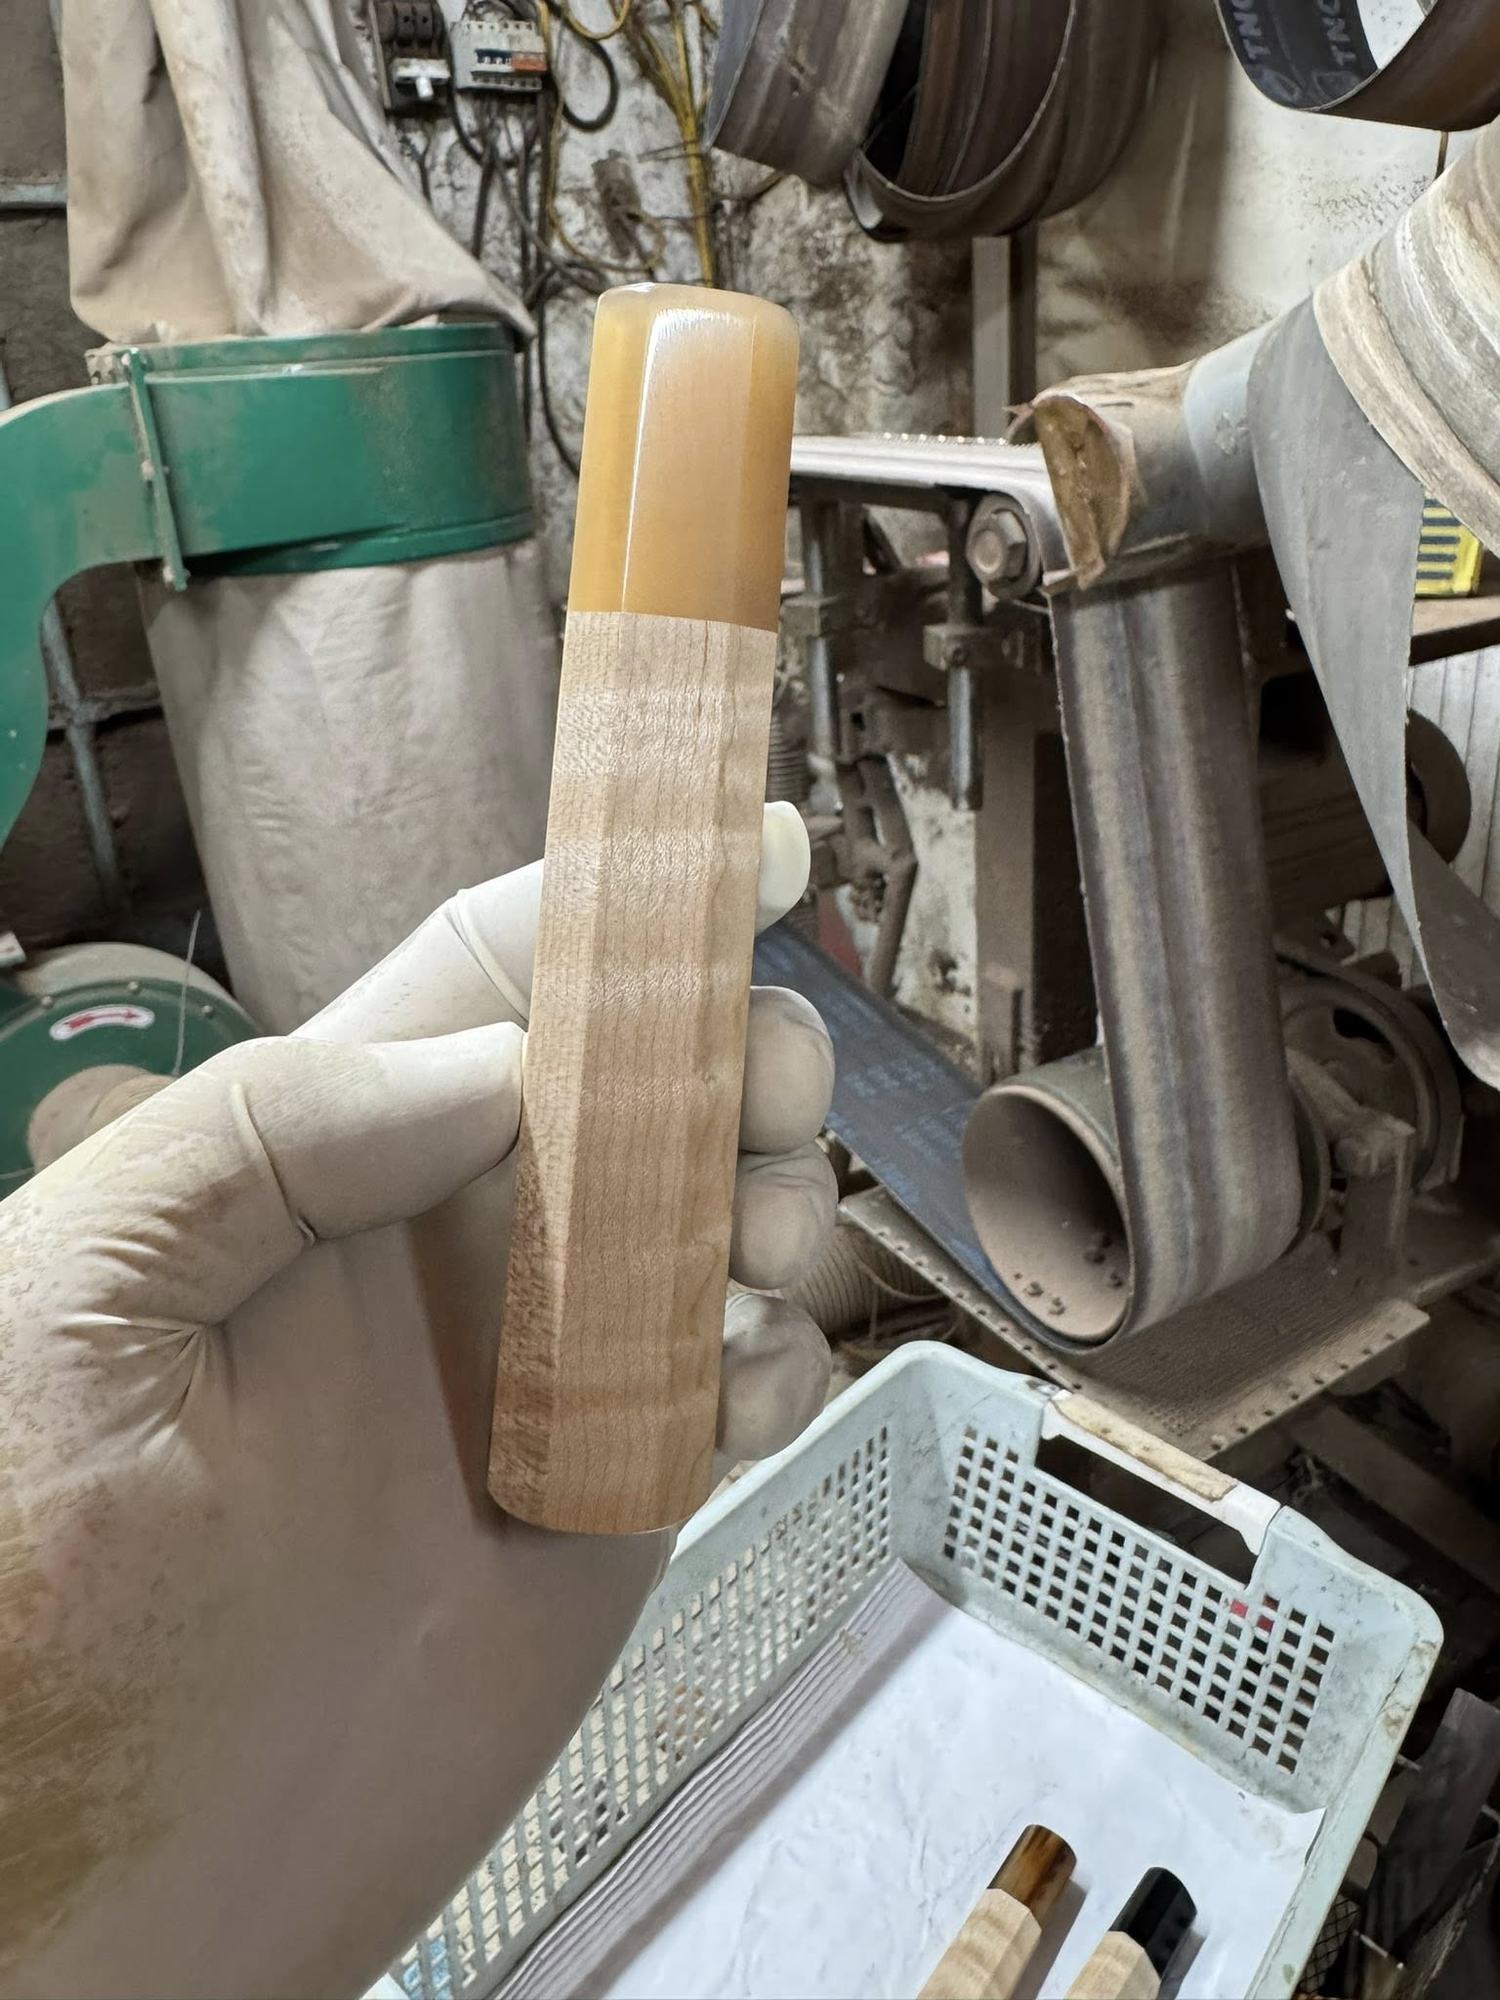
A wa handle lasts when its daily care is simple and consistent: wipe it dry after every use and keep it away from soaking and heat. Before applying any product, identify the handle’s finish, confirm that the product is compatible, and make sure the handle is clean, fully dry, and structurally sound; a dry-looking surface alone does not show that oil is appropriate. This is the care reference for Horn and Grain wa handles, covering routine cleaning and drying, when and how to oil, safe storage, and how to respond to warning signs near the tang and ferrule.
Standing water, heat, movement at the tang, and delayed drying call for different responses. Routine cleaning and drying help limit moisture exposure, but movement or a possible crack takes the knife out of routine-care territory. Stop using it and have the handle and fit assessed rather than trying to correct a structural question with oil, glue, or another finish.
The short version
If you only remember a few things, remember these. Wash the handle by hand and wipe it dry right away. Never leave it soaking in the sink and never put it in a dishwasher. Keep it away from direct heat and standing water, especially around the ferrule. Oil the handle only when its finish is known, the chosen product is confirmed compatible, and the handle is clean, fully dry, and structurally sound. A surface that looks dry does not, by itself, show that oil is appropriate; follow the maker’s directions for the product, amount, application, excess removal, and return to use or storage.
Make small maintenance corrections early, but do not treat a loose or possibly cracked handle as a surface-care problem. If the handle moves or a new line may be a crack, stop using the knife, keep it dry and guarded, and have it assessed before adding oil or glue. A widening gap, swelling, stickiness, persistent moisture at the junction, or a persistent sour odor also calls for assessment before any oil, glue, or finish. Leave a secure installed handle in place; do not remove it merely to inspect the hidden tang.
Everyday cleaning and drying
Day-to-day care is the part that matters most, because it is the part you repeat. Wash the knife by hand with mild soap and water, keep the handle out of a full soak, and dry it with a cloth as soon as you are done. Standing water is the single most avoidable cause of handle trouble, and the front joint where the handle meets the blade is where it does the most damage.
After preparing raw fish, follow the raw-fish handle cleaning guide for material-compatible cleaning, minimal wetting, and careful drying at the front junction.
Avoid leaving the knife in a wet sink, and keep it out of the dishwasher entirely. Heat and prolonged moisture are hard on both wood and horn, and a dishwasher delivers both at once. After washing, let the handle finish air-drying away from a hot stove or oven before it goes back into storage.
When and how to oil the handle
Oiling is about compatibility and condition, not a fixed calendar or a dry look. First identify the handle’s finish and follow the maker’s maintenance guidance for it. Oil only a clean, fully dry, structurally sound handle whose known finish is meant to receive the confirmed-compatible product. Use the specified applicator, amount, and method, wipe away excess as directed, and follow the stated return-to-use or storage instructions.
If the handle moves or may be cracked, stop using the knife and have it assessed; oil cannot secure a loose tang or repair a crack. A widening gap, swelling, stickiness, persistent moisture at the joint, or a persistent sour odor also takes the handle out of routine-oiling territory. Keep it dry and pause before adding oil, glue, or another finish.
For more on timing and technique, see how often to oil a wa handle and how to oil a dry wa handle at home.
Caring for horn ferrules and end caps
Horn ferrules and end caps are the parts that need the most gentle handling, because the joint between handle and blade is exactly where moisture problems tend to start. Treat horn gently around heat and standing water. Wipe the ferrule dry along with the rest of the handle, and do not let water sit in the seam where the ferrule meets the wood or the blade.
Horn is a natural material, so keep it away from direct heat and long soaks the same way you would the wood. A quick wipe and proper drying after each use does far more to protect the ferrule than any product you could add to it.
Storing the handle between uses
Store the knife dry. A handle that goes into a drawer or block still damp is a handle slowly absorbing moisture at the seams, so the drying step before storage matters as much as the cleaning. Keep the knife away from heat sources and out of damp, enclosed spots where moisture can linger. For the holder itself, see the knife-block cleaning steps.
For longer stretches between uses, make sure the handle is fully dry and keep it somewhere stable rather than next to a stove or in a humid cabinet. Apply a product only if the finish is known, the product is confirmed compatible, the handle is clean and structurally sound, and the maker’s guidance calls for it; a dry appearance alone is not enough. See the wa handle storage guide for more.
Reading the warning signs
A healthy wa handle should not need product after every prep session. When something changes, first separate surface condition from a possible structural or moisture problem. A dry-looking surface alone neither identifies the finish nor proves that oil is appropriate. Movement of the handle against the blade or a new line that may be a crack is not a routine-care issue; stop using the knife pending assessment. A widening gap, swelling, stickiness, persistent junction moisture, or a persistent sour odor also calls for assessment before adding a product.
Do not infer the cause or outcome from appearance alone. A photograph can document the condition, but it cannot show the full depth of a line or certify that the knife is safe. Leave a secure installed handle in place and do not deliberately wobble it. An assessment should distinguish a possible surface or finish issue from an opening, split ferrule, or changed blade-to-handle fit.
Dealing with cracks, swelling, and loose ferrules
If you see a new line that may be a crack, or the wa handle moves against the blade, stop using the knife until it has been assessed. Keep it dry, protect the edge with a secure blade guard, and photograph the condition before it changes. Do not apply oil or household glue as a structural remedy. Leave a secure installed handle in place, and do not remove it merely to inspect the hidden tang or collect measurements; do not bend, twist, squeeze, or deliberately wobble it.
The practical question is what the assessment finds. It should separate a possible surface or finish issue from an opening, split ferrule, or changed blade-to-handle fit. Its outcome—not the first check—determines whether no structural work, a controlled repair, or a reshafting route is appropriate. For a deeper walk-through, see what to do about wa handle cracks.
Keep the basics consistent
Good wa handle care is mostly about doing the simple things every time: hand-wash, wipe dry, avoid soaking and heat, and store the knife dry. Before oiling, identify the finish, confirm product compatibility, and make sure the handle is clean, fully dry, and structurally sound; a dry look alone is not enough. If the handle moves or may be cracked, stop using the knife, keep it dry and guarded, and have it assessed; do not remove an otherwise secure installed handle merely to inspect it. Routine care supports surface maintenance, but it cannot repair damage or secure a loose tang.
If you are still choosing or building a handle, the custom handle configurator and the made-to-order handle collection are the place to start, and the ordering guide and installation guide cover the steps before this one.