Mold on a wooden cutting board can often be cleaned off if the board is sound: scrub it with hot, soapy water, sanitize it with the diluted bleach solution the USDA describes, rinse, and let it dry completely with air on every face. Lightly sand away any stain that remains. Replace the board if the mold sits in cracks, splits or deep grooves you cannot clean, or keeps coming back after you have fixed how it dries.
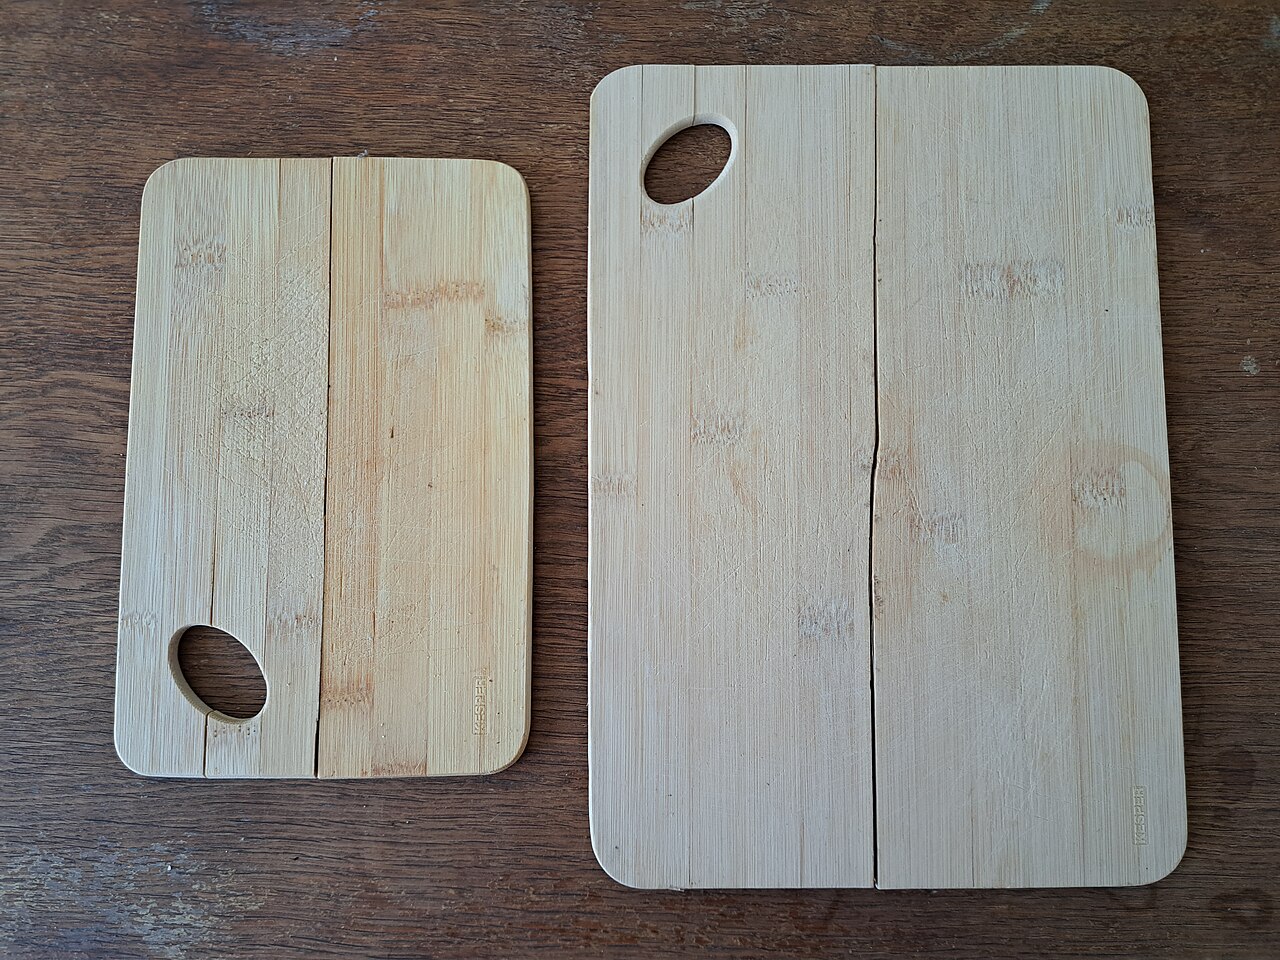
Step by step
- Scrub. Wash both faces, the edges and any juice groove with hot, soapy water, then rinse. USDA recommends this wash after every use; the EPA’s general mold guidance is likewise to scrub mold off hard surfaces with detergent and water.
- Sanitize. USDA says both wooden and plastic boards can be sanitized with 1 tablespoon of unscented liquid chlorine bleach per gallon of water: flood the surface, let it stand for several minutes, then rinse with clear water. Treat both faces. Never mix bleach with cleaners that contain ammonia; the EPA warns this can produce toxic fumes.
- Dry fully. Air dry or pat dry with clean paper towels, then stand the board on edge with air reaching both faces. The EPA’s rule for mold anywhere in the home is that moisture control is the key to mold control.
- Sand any stain. Once dry, a light sanding with the grain can remove discoloration that washing leaves behind. Our guide to sanding a cutting board gives the grits board makers recommend.
- Re-oil. If your board is meant to be oiled, oil it only after it is clean and fully dry, as our oiling guide explains.
Check your board maker’s instructions first
Board makers do not all agree on bleach. John Boos allows a more thorough sanitizing with one teaspoon of liquid chlorine bleach in a quart of water, or a one-to-five vinegar solution, and warns against soaking or submerging its boards. TeakHaus, by contrast, tells owners not to use harsh chemical cleaners or bleach on its boards. Where your board’s maker gives a method, follow it; where it does not, the USDA method above is the published standard for home cutting boards.
Clean it or replace it?
| What you see | What it suggests | Next step |
|---|---|---|
| Spots on a smooth, uncracked surface | Surface growth from a board stored damp | Scrub, sanitize, dry, then change where it dries |
| A dark mark left after cleaning and drying | Stain in the wood | Sand lightly with the grain, wash, dry, re-oil |
| Growth inside deep knife grooves | Grooves too deep to clean | Sand smooth if the board is thick enough; otherwise replace |
| Growth in a crack, split or glue line | Damage you cannot reach | Replace the board |
| Mold returns after proper drying | The wood is holding moisture or growth below the surface | Replace the board |
The replace rows follow two published rules. USDA says boards that become excessively worn or develop hard-to-clean grooves should be replaced. The EPA notes that absorbent or porous materials may have to be thrown away if they become moldy, because mold can fill crevices in porous material and may be difficult or impossible to remove completely.
Stop it coming back
Mold needs moisture, so the fix is in drying and storage. Do not put a board away damp, do not leave it flat on a wet counter or mat, and do not soak it. John Boos recommends storing its wood boards on edge, out of direct sunlight, with airflow around them. Our everyday cleaning guide covers the routine, and soft Japanese boards have their own advice in hinoki cutting board care.
What this means for your knife handle
A wooden knife handle stored damp can suffer the same way, usually first as a sour smell or dark end grain. Our guides to a wa handle with a sour odor and storing a wa handle in humid weather explain what to check, and if a handle is past saving, re-handling the knife keeps the blade in use.
Sources: USDA FSIS, Cutting Boards (washing; bleach sanitizing method; replacing worn boards); US EPA, A Brief Guide to Mold, Moisture and Your Home (moisture control; scrubbing hard surfaces; porous materials; never mix bleach and ammonia); John Boos FAQ (bleach and vinegar dilutions; no soaking; storage); TeakHaus care guide (no harsh chemicals or bleach).