To sand a wooden cutting board, work on a clean, fully dry board and sand with the grain, never across it. Use a coarse paper only for deep knife grooves, then move to finer grits and finish at around 200–220 grit. Wipe off the dust, wash and dry the board, then oil it. For light stains and odors, try salt and lemon or a baking-soda paste first; sand only what cleaning cannot lift.
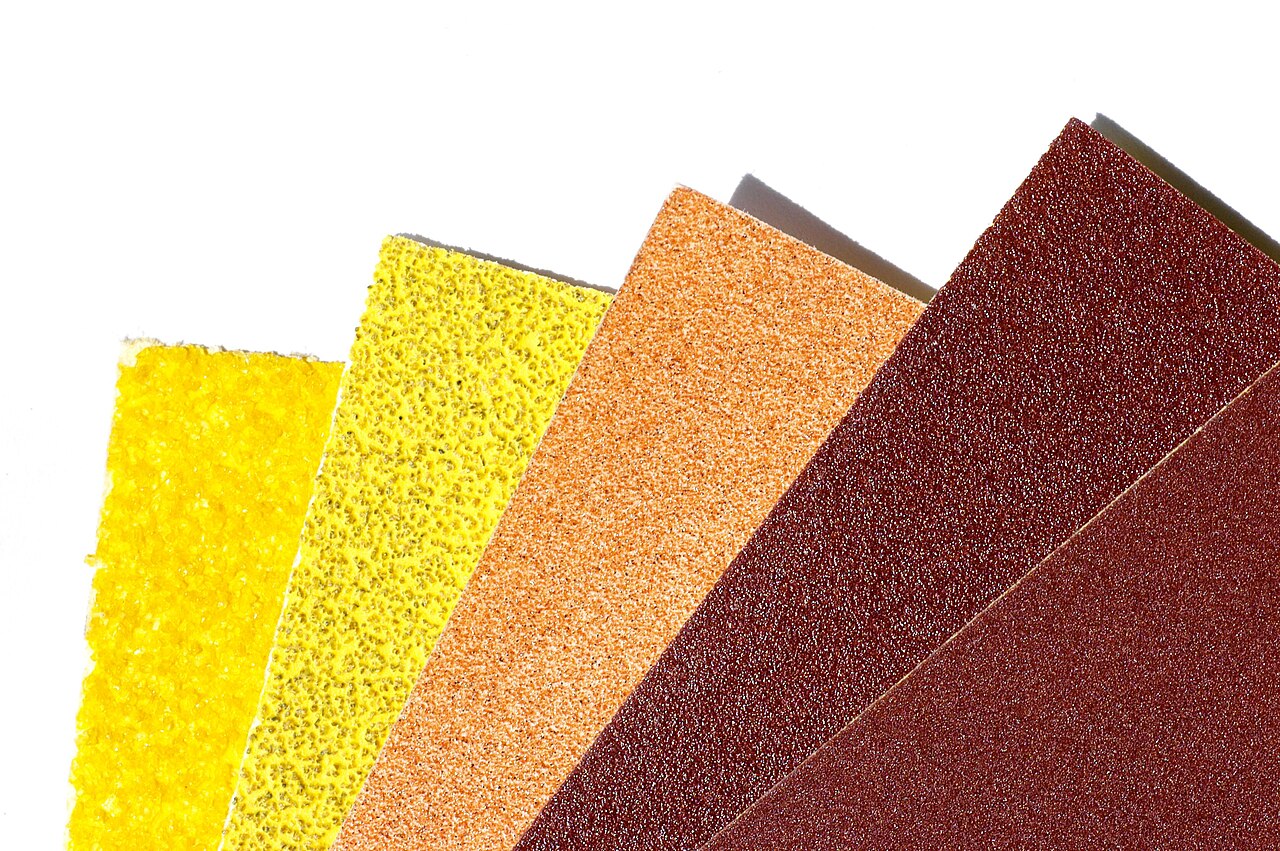
What board makers recommend
| Problem | Maker guidance | Grit |
|---|---|---|
| Stubborn stain | John Boos: sand the area, always with the grain, then oil and apply board cream | 200 |
| Deep scratches that trap food | TeakHaus: start coarse, step up, finish smooth; always with the grain | 80, then 120, then 220 |
| Surface rough or heavily scratched | TeakHaus: light sanding every 6–12 months for daily-use boards | 150–220 |
| Scratches and knife marks | John Boos: a light sanding with fine-grit paper, worked evenly across the surface, then oil | Fine |
These are each maker’s instructions for its own boards. If your board came with care instructions, they come first.
Step by step
- Try cleaning first. For a stain or smell, John Boos suggests rubbing salt into the board with a cut lemon; TeakHaus suggests a paste of baking soda and water for berry, beet or turmeric marks. Rinse and dry afterwards.
- Check the board. Make sure it is solid wood that is meant to be oiled and that it is fully dry. A lacquered or sealed board needs its maker’s own advice; our oiling guide explains how to tell.
- Sand with the grain. Choose the coarsest grit the damage needs, and keep the pressure broad and even across the whole face rather than digging at one mark, so you do not leave a hollow.
- Step up through the grits. Each finer paper removes the scratches of the one before, ending around 200–220.
- Remove the dust, wash and dry. Wipe away all sanding dust, then clean and dry the board as usual.
- Oil it. Fresh wood is bare. John Boos follows sanding with its oil and then its beeswax board cream; TeakHaus follows with oil. See our guide to food-safe cutting board finishes for what to use.
When sanding is not the answer
The board has a crack that goes through it. TeakHaus says small surface cracks can be glued with food-grade wood glue, but large cracks that go through a board compromise food safety and structural integrity, and such boards should be retired from food use.
The board rocks or has warped. Sanding the face will not cure an unstable board; start with our guide to a warped wooden cutting board.
There is mold. Clean and sanitize first, then sand any stain left behind, as described in mold on a wooden cutting board.
The grooves are deeper than the board can spare. USDA says boards that become excessively worn or develop hard-to-clean grooves should be replaced. Each sanding removes wood, so a thin board eventually reaches that point.
What this means for your board and knife
Knife marks are a sign the board is doing its job: a surface soft enough to mark is gentler on an edge than one that is not, as our cutting-board materials guide explains. End-grain and edge-grain boards wear differently, which our end-grain versus edge-grain guide compares. Wooden knife handles have their own finish care; for a handle that has lost its sheen, see how to refresh a dull oil finish.
Sources: John Boos FAQ (salt and lemon; 200-grit sanding with the grain; oil and board cream); John Boos, care guide (light fine-grit sanding for knife marks, then oil); TeakHaus care guide (baking-soda paste; 80/120/220 grits; 150–220 maintenance sanding; cracks); USDA FSIS, Cutting Boards (replace worn boards).