To oil a wooden cutting board, begin with clean, fully dry wood and a food-contact board oil approved for that board. Spread it over all the intended wooden surfaces, allow the time specified by the product and board maker, then wipe away the excess. The result should be conditioned wood, not a slick layer that transfers to food.
This routine is for boards designed to receive oil. It does not apply automatically to lacquered boards, synthetic cutting boards or every Japanese softwood board. Confirm the finish before applying anything.
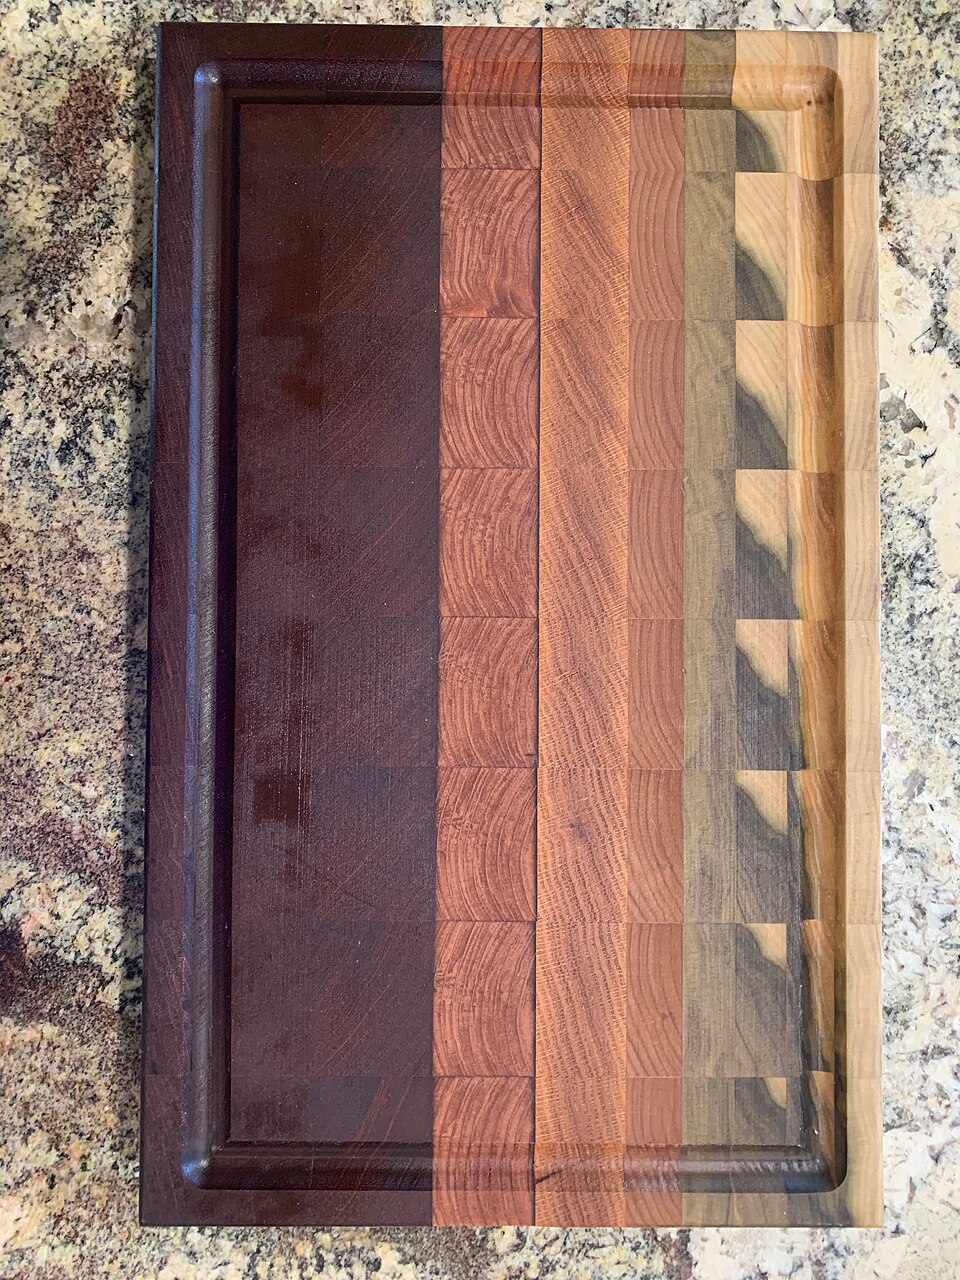
Choose an oil for the job
Food-grade mineral oil sold for cutting boards is a common choice. John Boos recommends food-safe mineral oil and its own board-care products; Teakhaus also specifies mineral oil. The useful information is the product’s intended food-contact use and compatibility with your board, not simply the word “natural” on the bottle.
Do not substitute a random cooking oil or workshop finish. Cooking oils can develop unwanted odours, and a product intended for furniture is not made suitable for food preparation by using a smaller amount. If the board arrived with a named finish or care product, start with that information.
A mineral-oil-and-wax conditioner is another product category. It may be used differently from plain oil, so read its directions rather than apply both products as if they were the same liquid.
Wash first, then let the wood dry fully
Remove food and clean the board in the normal way. Wipe it and allow it to finish drying with airflow around it. Do not begin oiling while it is visibly damp, has water sitting in a groove, or still needs a sanitizing step after raw-food preparation.
The cleaning guide explains those tasks separately. Oil is maintenance for the wood; it is not a shortcut for washing, sanitizing or fixing trapped food in a crack.
Before applying oil, examine the dry surface. A pale, dry-looking patch may benefit from conditioning. An opening glue joint, deep damage or an unstable board requires a different decision. Oil cannot close a structural gap or make an uncleanable groove disappear.
If the board rocks or cups, use our warped wooden cutting board guide to check stability and the right repair route before oiling.
Apply an even coat to the intended surfaces
Work on a protected counter with the board supported securely. Use a clean cloth to distribute the oil, including the edges and end grain where the board maker instructs. For a reversible unsealed wooden board, remember the underside as well as the face that looks attractive in a photograph.
You do not need a universal tablespoon count. Board area, dryness, construction and the oil’s consistency all change the amount. Begin with enough to spread a continuous coat and follow the product directions; avoid pouring so much that oil runs onto feet, labels or the counter.
If one area absorbs the coat much more readily, revisit it according to the maker’s method. The aim is even care of the wooden surfaces, not making a permanently wet-looking board. Keep the cloth and product away from food while you work.
Give it time, then wipe away what remains
Teakhaus’s detailed maintenance guide allows several hours or overnight for its oiling process and then removes excess. That is why oiling after the day’s preparation is often more convenient than doing it immediately before dinner.
Use your own product’s timing. When that interval has passed, wipe the board with a clean cloth until excess oil no longer sits on the surface. Check the edges and grooves, where it is easy to leave a small pool.
If the board remains greasy, start by removing residual oil rather than immediately adding another coat. If it is sticky, smells unusual or has been treated with an unidentified product, identify what was applied before repeating the routine. More oil is not a general solution to every surface problem.
Is wax necessary?
Some manufacturers offer a wax-containing cream as a finishing step after oil. That can be part of a coherent care system, but it is not a requirement for every board. Follow the board maker’s sequence and the cream’s own application instructions.
Do not layer products merely because each is marketed for wood. A board supplied with a sealed finish may not accept the same treatment as an unfinished or mineral-oiled one. If you cannot establish the original finish, ask the maker before adding a new coating.
For a new board, read the supplied leaflet before the first use. Some arrive ready to work and already conditioned. A new purchase does not automatically need repeated heavy oiling on arrival.
Let the board tell you when to repeat
Frequency depends on how often you use and wash the board and on the conditions in which it dries. Boos gives a monthly routine for its boards while noting that use and climate affect it. Treat the manufacturer’s schedule as a starting point, then inspect the clean, dry wood regularly.
Keep a simple note of the last treatment if you tend to forget. Reassess when the surface looks dry or loses the conditioned appearance you recognize from proper care. You do not need to keep adding oil to a board that still carries excess from the previous application.
For hinoki boards, return to their particular care instructions rather than transplant this hardwood routine. Good maintenance respects the board’s construction. The useful habit is to clean promptly, dry properly and apply only the treatment the wood actually needs.