Clean a wooden cutting board with hot, soapy water after use, rinse it and dry it thoroughly. After contact with raw meat, poultry or seafood, washing and an appropriate food-contact sanitizing step are separate jobs. Finish by allowing air to reach the board; putting a clean board away damp defeats the drying step.
This guide is for ordinary wooden food-preparation boards. Follow any more specific instructions supplied with yours, especially for unusual finishes or construction. A soft hinoki board has its own routine, covered in the hinoki care guide.
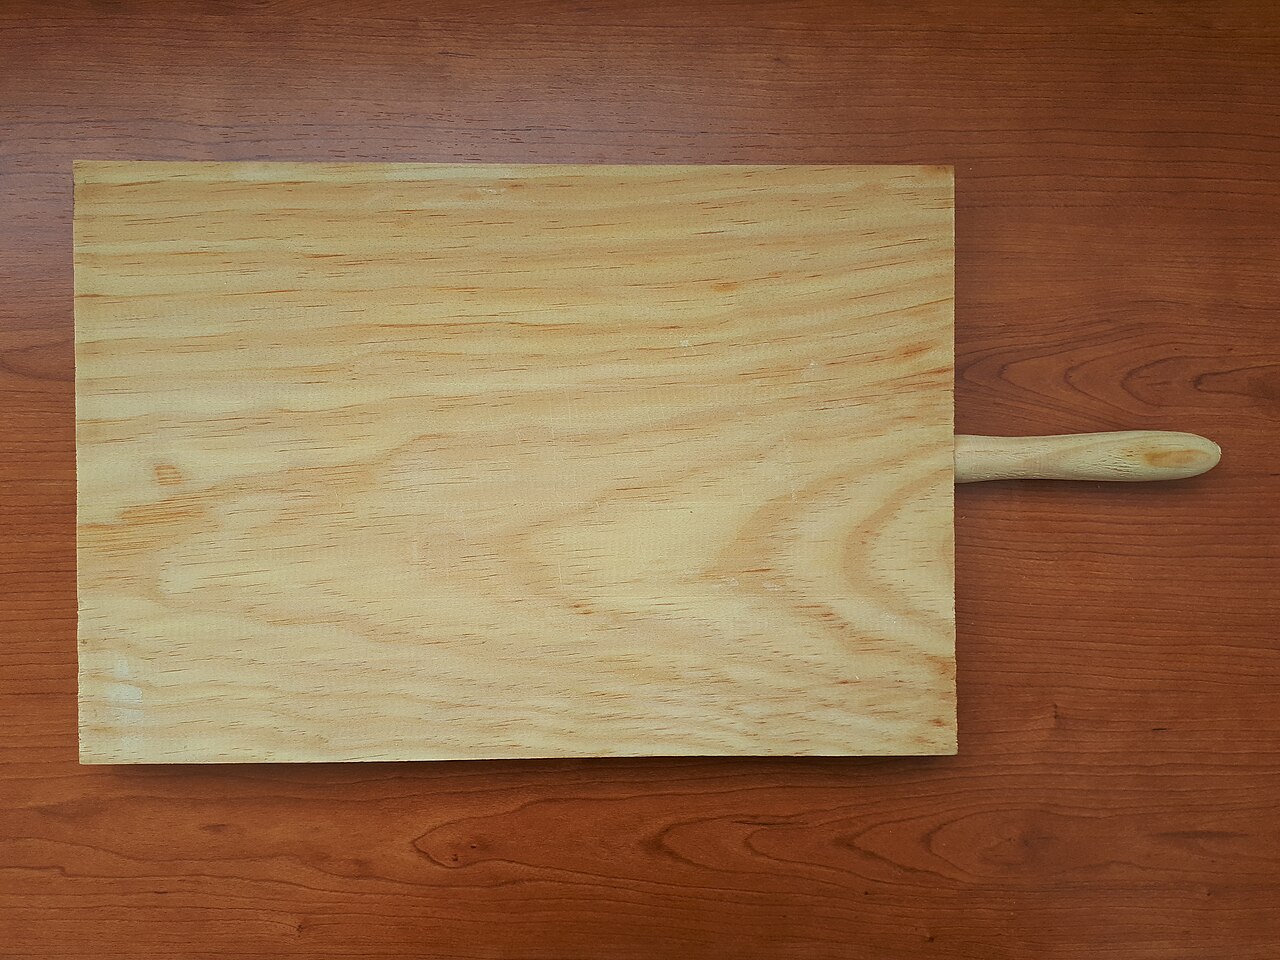
Remove food before it becomes a cleaning problem
Move prepared ingredients into a clean bowl, then clear loose scraps without dragging the knife’s cutting edge sideways across the board. A suitable scraper keeps this job separate from the fine edge you use for slicing.
Look at both faces, the edges, any juice groove and the handholds. The side that appears unused may have touched a wet counter or collected drips. Cleaning only the visible cutting patch leaves part of the job unfinished.
If food has dried onto the surface, loosen it during washing with a suitable brush or sponge. Do not leave the whole board submerged while you turn to another task. For example, Teakhaus’s care instructions specify hand washing and warn against soaking and dishwasher use for its wooden boards.
Wash, rinse and remove the surface water
Use hot, soapy water and work across the entire board, including grooves and edges. Rinse away loosened food and detergent. The USDA’s cutting-board guidance puts cleaning after each use at the centre of board care.
For a board used only for bread or washed vegetables, this is the everyday cleaning step. Do not treat a board as clean merely because a damp cloth has removed the visible crumbs. Equally, do not mistake a darker wet patch for a stain while the board is still drying.
Wipe off excess water with a clean towel. Then move the board to a position where it can finish drying in air. The towel step helps; it does not prove that every surface and groove is already dry enough for closed storage.
After raw meat or fish, keep the next food separate
The simplest preparation arrangement is a separate board for raw animal foods and another for foods that will be eaten without further cooking. USDA recommends that separation to reduce cross-contamination. Plan it before the meal starts, rather than discover that the salad needs the same dirty board.
If the wooden board has contacted raw meat, poultry or seafood, clean it first. Then use a sanitizing method suitable for both the board and food-contact surfaces. USDA explains why cleaning must come before sanitizing: food residue interferes with the second step. If you are still choosing a separate raw-food board, start with our cutting-board guide for raw meat.
For a commercial product, follow its food-contact directions for dilution, wet contact time and any required final rinse. Check the board manufacturer’s compatibility guidance as well. A general household disinfectant is not automatically suitable for a surface that will touch food.
Keep that task distinct from removing an onion smell or a visible stain. Lemon, salt or a quick vinegar wipe should not stand in for a validated sanitizing method. A board can look or smell better without that establishing its microbiological condition.
Drying needs space around the board
After cleaning, support the board securely on an edge or in its intended rack so air can reach both broad faces. John Boos recommends allowing airflow around its boards. Do not lean a wet face tightly against a backsplash or slide it straight into a narrow cupboard. For a board stand or rack that fits your setup, compare cutting-board holders.
Choose a stable drying position that will not topple onto a person or the floor. If your board has feet or a dedicated drying arrangement, use the maker’s method. Avoid trying to accelerate the process with an oven, radiator or direct heat.
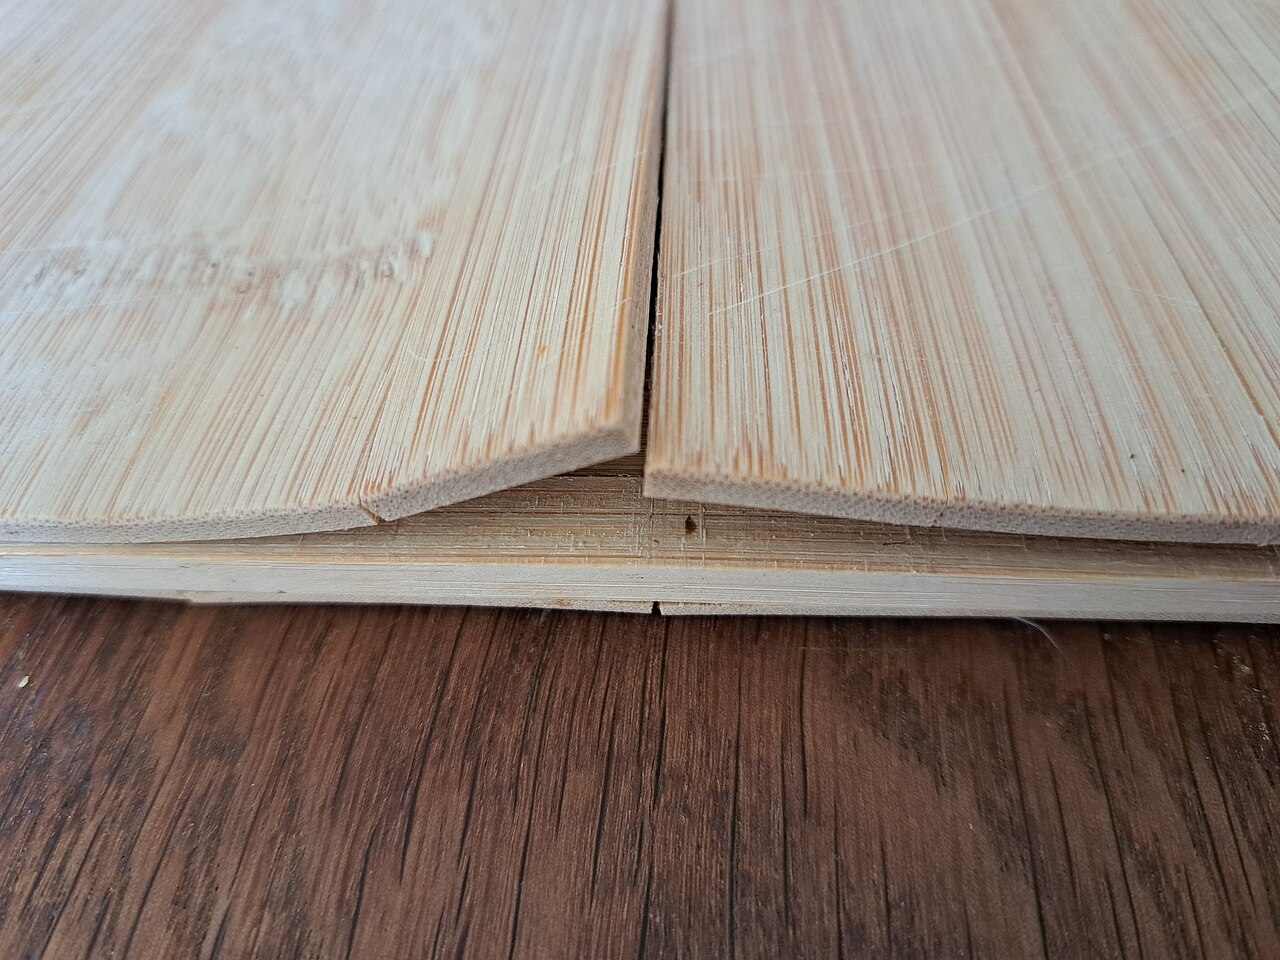
Once dry, check the board on a flat counter. If it rocks, has an opening seam or retains food in damage you cannot clean, solve that before the next preparation session. A towel underneath is useful for ordinary grip only when appropriate; it is not a repair for a structurally damaged board.
What about odours, dark patches and oil?
Start with a complete wash and dry before deciding what remains. Inspect any persistent patch closely: superficial colour, rough fibres and an open crack are different conditions. Use a stain treatment only when your board’s instructions permit it, and clean away the treatment afterwards.
Oil belongs to a separate maintenance task on boards designed to be oiled. It does not remove food or sanitize a surface. Applying it to a dirty or damp board skips the work that needed doing first. For a board intended to be oiled, follow its maker’s instructions only after cleaning and complete drying, and wipe away excess conditioner.
A board with deep grooves that cannot be cleaned should be replaced; USDA specifically identifies that condition. Do not keep escalating household cleaning mixtures in the hope of making inaccessible damage usable.
Make the routine easy enough to repeat
Keep a clean drying space available before cooking, and keep the raw-food board distinct from the ready-to-eat one. After preparation, clear, wash, rinse, sanitize when appropriate and dry. These are small steps, but each has a different purpose. Wooden utensils need their own finish-specific instructions; see this hand-wash and drying routine for wooden spoons.
If your current board is so large or heavy that washing it is consistently awkward, that is a buying lesson for its replacement. The board-size guide includes the sink and drying position as well as the worktop.