To cut taro root, scrub it under running water, cut a thin slice off both ends, and peel the thick brown skin from one end to the other with a knife or a vegetable peeler. For a large taro, halve it first and lay the flat side on the board. Then cut it into cubes, chunks or slices for your recipe. Wear kitchen gloves if your skin is sensitive, keep the board and your hands dry so the slippery flesh does not slide, and always cook taro before you eat it.
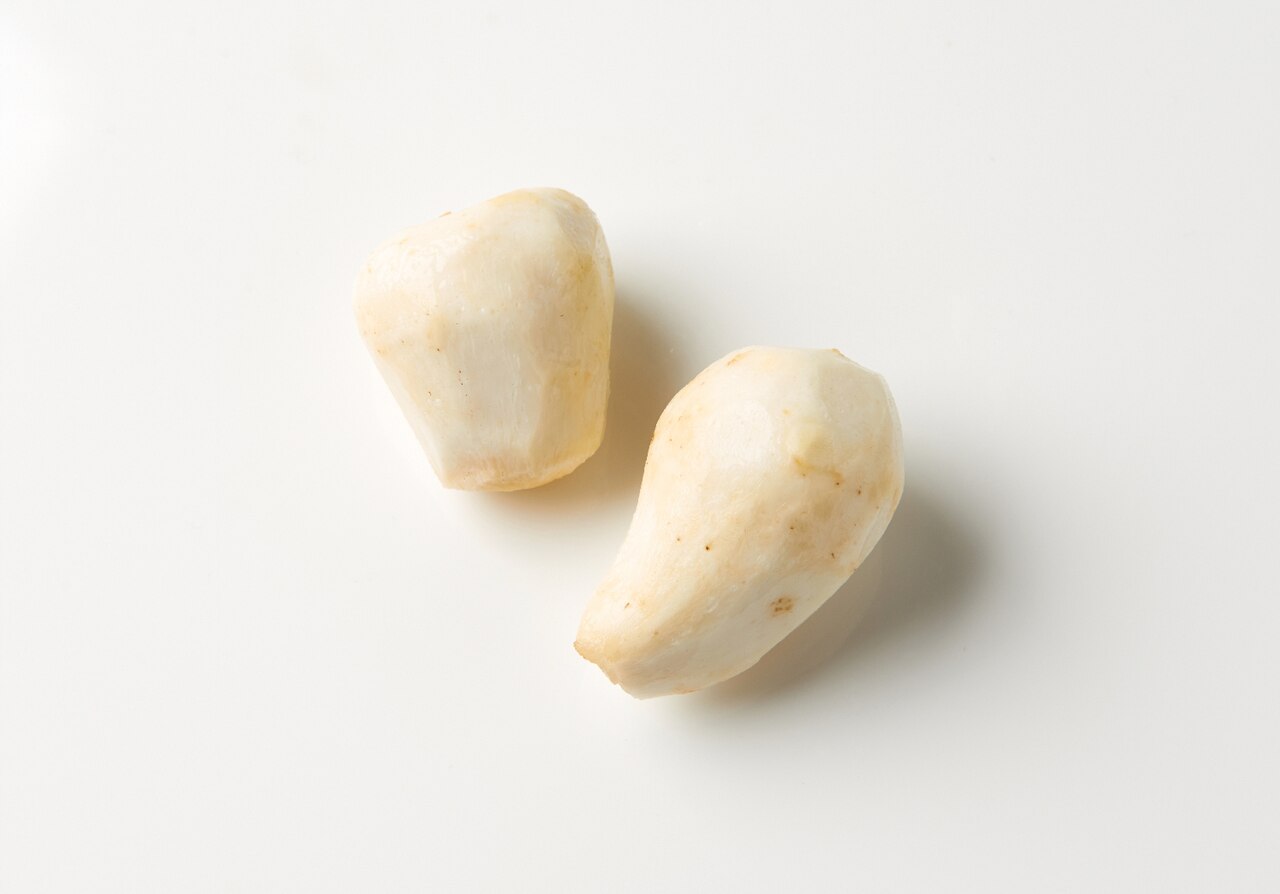
Small taro and large taro
Two kinds turn up in most stores. Small taro, such as Japanese satoimo, is round with hairy brown skin and tapered ends; Just One Cookbook describes its white flesh as firm and creamy, with a slimy texture a little like okra. The Woks of Life compares the two sizes: small taro, about as big as a baseball, is denser and slightly chewy, while large taro, often used in Cantonese cooking, is starchier and drier. The cuts below work for both; the large one simply needs a flat base before you peel it.
Before you start
- Protect your hands if needed. Just One Cookbook suggests kitchen gloves for sensitive skin, because the calcium oxalate in taro can irritate it, and notes that the irritant goes away once the taro is cooked. The Woks of Life gives the same advice for peeling and cutting.
- Scrub first. Rinse the taro under running water and remove as much dirt and hair as you can with a vegetable scrub brush; Just One Cookbook uses a tawashi. The FDA advises washing produce before you peel it, so dirt and bacteria are not carried from the knife onto the flesh.
- Dry it, and the board. Just One Cookbook warns that taro gets slimy as you peel it. A dry board and dry hands give you a steadier grip.
Peel small taro
- Trim both ends. Cut a thin slice off the top and the bottom so the taro stands on a flat end.
- Peel from end to end. With a vegetable peeler, or a small knife held at a shallow angle, take the skin off in strips from one cut end to the other, turning the taro as you go.
- For Japanese simmered dishes, peel six sides. Kikkoman describes a six-sided peel used for neat simmered taro served to guests: after trimming the ends, peel vertically to make six even faces, working on the opposite side next rather than the one beside it, so the faces come out equal.
Peel and cut large taro
- Make a flat base. Trim both ends, then halve the taro lengthwise. Mississippi State University Extension recommends cutting round foods in half and laying the flat side down before you continue, so the piece cannot roll.
- Cut the skin away. Stand each half on its cut face or lay it flat, and slice the skin off in strips from top to bottom, following the curve. Take a little flesh with the skin rather than leaving brown patches behind.
- Cut planks, then pieces. Slice the peeled half into planks, lay the planks flat, and cut them into sticks and then cubes. The Woks of Life cuts its taro into 1-inch (2.5 cm) chunks for a stir-fry; Just One Cookbook halves small taro or cuts it into bite-size pieces before cooking.
- Slices. For slices, keep the half flat side down and cut straight down across it at an even thickness, curling the fingertips of your guiding hand under.
The slippery surface
The slime is part of the vegetable, and you do not have to remove it. If your recipe calls for a clear broth, Just One Cookbook rubs the peeled taro with salt and rinses it under cold water; Kikkoman rubs it with salt and brings it to a boil in plenty of water, then rinses it. For stews, where some thickness is welcome, Kikkoman simply rinses the peeled taro and wipes it with a clean, dry cloth or paper towel.
Cook it before eating
Cook taro before you eat it. Hong Kong’s Centre for Food Safety explains that taro plants contain calcium oxalate crystals and that the acrid taste of raw edible taro is substantially reduced after cooking. It also warns that cooking cannot remove the poisoning effect of wild taro, so buy taro sold as food. Simmer, steam, stir-fry or fry the pieces according to your recipe. For soups, stews and hot pot, including sinigang, cut chunks or thick slices at the size your recipe gives.
Storing taro
Just One Cookbook keeps whole satoimo in a dark, cool place, where it usually lasts a couple of weeks. Peel and cut it when you are ready to cook.
Which knife
A gyuto or santoku handles the halving, planks and cubes, and a petty knife is a comfortable size for peeling small taro in your hand; see what a petty knife is for. Taro is dense, so let the knife slice through rather than forcing it, and never twist the blade to break a piece apart: a sideways load can chip a thin Japanese edge, as our guide to why Japanese knives chip explains. For a tray of mixed roots, see how to cut root vegetables; for another root used in Japanese simmered dishes, see how to cut burdock root. For other vegetables, browse all our how-to-cut guides.
Sources: Just One Cookbook, Satoimo (Japanese Taro) (description, scrub, gloves for sensitive skin, calcium oxalate gone once cooked, trim both ends, peel end to end, slimy when peeling, salt rub and rinse, halves or bite-size pieces, storing whole); The Woks of Life, Taro Stir-fry with Scallion Oil (small and large taro, gloves for sensitive skin, 1-inch chunks); Kikkoman, How to prepare satoimo (salt rub and boil, wiping away sliminess, six-sided peel); Centre for Food Safety, Hong Kong, Calcium Oxalate: the Stinging Crystals in Plants (calcium oxalate, acrid taste of raw edible taro reduced by cooking, wild taro unsafe even cooked); FDA, 7 Tips for Cleaning Fruits, Vegetables (wash before peeling); Mississippi State University Extension, knife basics (halve round foods and lay them flat).