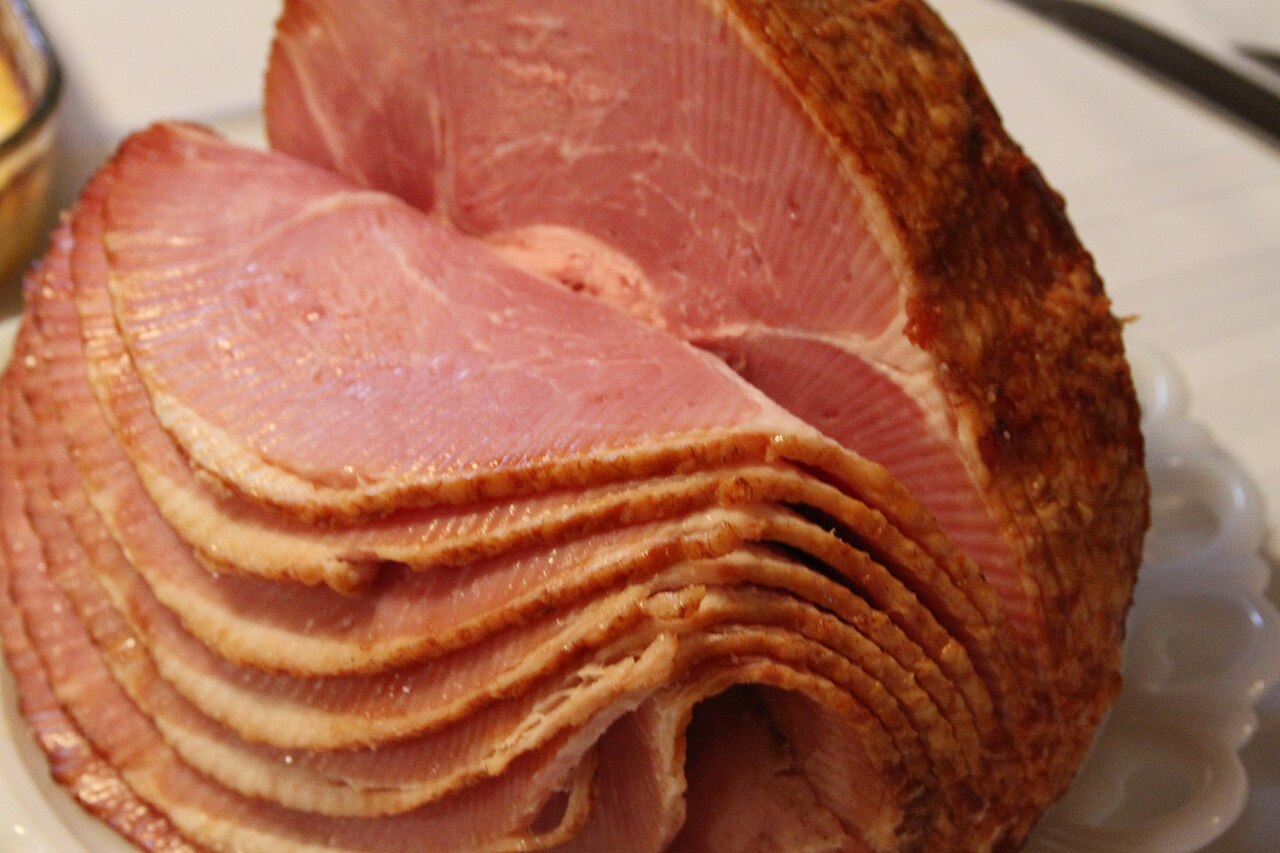
To carve a bone-in ham, take the meat off the bone in large pieces first, then slice those pieces flat on the board. Cut along the top of the bone to lift off the meatiest section, slice it across, then free the rest of the meat from the bone with the knife tip and slice that too. A spiral-sliced ham is already cut; you only need to cut around the bone to release the slices. Virginia Cooperative Extension’s carving guide and America’s Test Kitchen both work this way: off the bone first, then slice.
Know which ham you have
The label changes both the carving and the heating. USDA’s Ham and Food Safety fact sheet separates them like this:
- Cooked hams, including spiral-cut hams, can be eaten cold. To reheat one packaged in a USDA-inspected plant, heat it to 140°F; leftover cooked ham and ham repackaged anywhere else go to 165°F. USDA says spiral-cut hams are best served cold, because heating sliced ham can dry out the meat and melt the glaze off.
- Cook-before-eating and fresh hams must be cooked to 145°F and allowed to rest for at least 3 minutes before carving or eating. A fresh ham is uncured and carries the word “fresh” in its name.
- Half or portion. A “half” ham has no slices removed; a shank or butt “portion” has had its center slices removed and sold as ham steaks.
Shank or butt end? The National Pork Board says a whole ham cut in half gives a shank end, which is easier to carve, and a butt end, which is leaner. America’s Test Kitchen prefers the shank end for carving because it has less gristle and fat.
Set up
Iowa State University Extension’s AnswerLine rests a ham for three minutes after it comes out of the oven, then carves. Use a large, stable board with a groove or tray for the juices (our carving board guide compares sizes), a carving fork to hold the ham, a long slicing or carving knife, and a short paring knife for work around the bone.
Carving a bone-in ham, step by step
- Find the bone and the thick side. Virginia Cooperative Extension’s guide sets the ham with its meatiest part, the “cushion,” on top.
- Lift off the cushion. Cut along the top of the bone and lift that boneless section away. Lay it on the board and slice it straight across.
- Free the next section. Cut along the bone with the knife tip to remove the meat from it. Turn that piece thick side down so it sits flat, and slice it.
- Work around the hip bone. The butt end holds the aitch (hip) bone. Hold the ham with the fork, carve slices across the bone, and release each slice from it with the tip of the knife.
If the knife meets bone, stop and change the angle; follow the bone with the tip rather than cutting into it.
Carving a spiral-sliced ham
USDA notes that spiral slicing was introduced to reduce carving problems, but America’s Test Kitchen points out that the slices are still attached to the bone. Its method:
- With the ham on its side, cut around the bone with a paring knife to free the attached slices.
- Switch to the carving knife and slice horizontally above the bone to remove that whole section.
- Turn the ham cut side down and slice down along the bone to remove the remaining meat.
- Cut between the slices to separate them.
Niman Ranch describes the same ham as three large sections separated by thin layers of fat: cut along those natural divisions first, then make a final cut around the bone.
Country ham
A dry-cured country ham is carved differently. Virginia Cooperative Extension’s guide to cooking salt-cured hams says to refrigerate the cooked ham overnight before carving, because a hot or warm ham is hard to slice thinly, and that very sharp knives are needed for thin slices; thinner slices also taste less salty.
The knife for this job
Use two knives. A short paring knife, or a petty knife (see what a petty knife is used for), does the close work around the bone. For the long slices, a Western carving knife is built to follow a bird, ham or joint and is more tolerant of contact near bone; a sujihiki is thinner and suits long strokes through the boneless pieces on the board. Our sujihiki vs carving knife guide sets out that trade, and what is a sujihiki notes that Masamoto lists slicing ham among its jobs. Keep a thin Japanese edge away from the bone itself; why Japanese knives chip explains why.
If you are fitting a wa handle to the slicer, our wa handle size guide puts a 210–255mm sujihiki in the Chef size and a 256–360mm one in Long.
Sources: USDA FSIS, Ham and Food Safety (copy hosted by Utah State University Extension) (ham types, 140°F and 165°F reheating, 145°F plus 3-minute rest, spiral-cut hams, half vs portion); Virginia Cooperative Extension, Meat Carving (458-002) (bone-in ham method, aitch bone); America’s Test Kitchen, How to Carve a Ham (shank end, spiral ham steps, paring and carving knives); National Pork Board, Cooking Ham (shank end easier to carve, butt end leaner); Iowa State University Extension, AnswerLine: Cooking Ham (3-minute rest before carving); Niman Ranch, Carving a Spiral Ham (three sections); Virginia Cooperative Extension, Cooking Salt Cured Hams (chill overnight, thin slices).