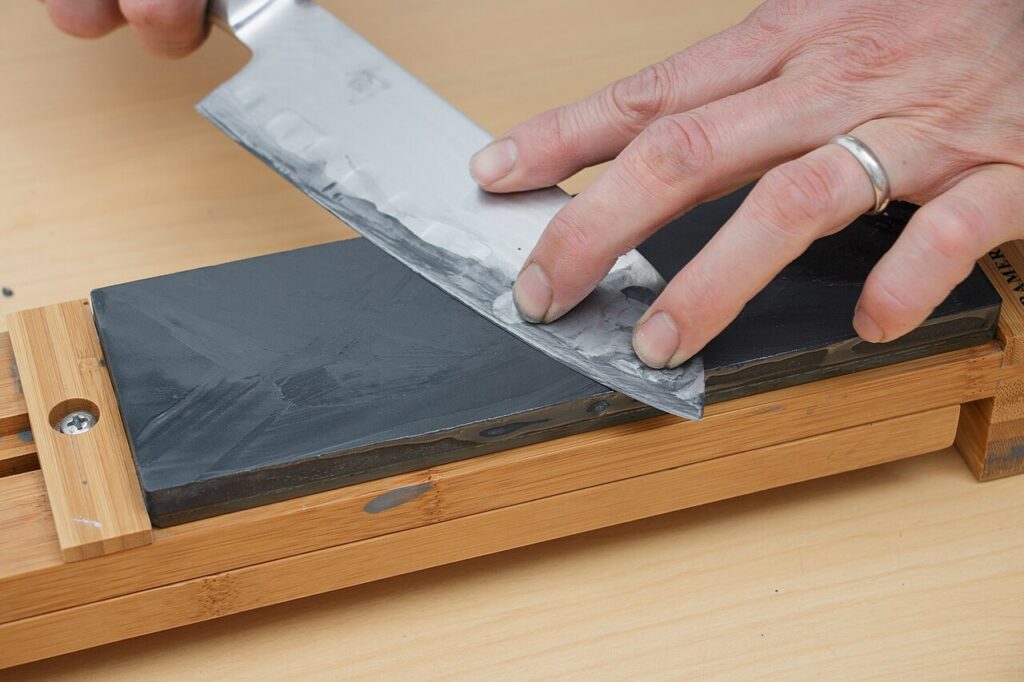
A medium whetstone can restore a normally dull, straight-edge double-bevel kitchen knife. Secure the stone, match its existing bevel, work the full edge in overlapping sections, then lighten your strokes to remove the burr. If you are deciding whether the knife needs a rod touch-up or sharpening, see the honing-rod guide. This step-by-step method is for a plain double-bevel edge; a single-bevel knife or serration needs its own method.
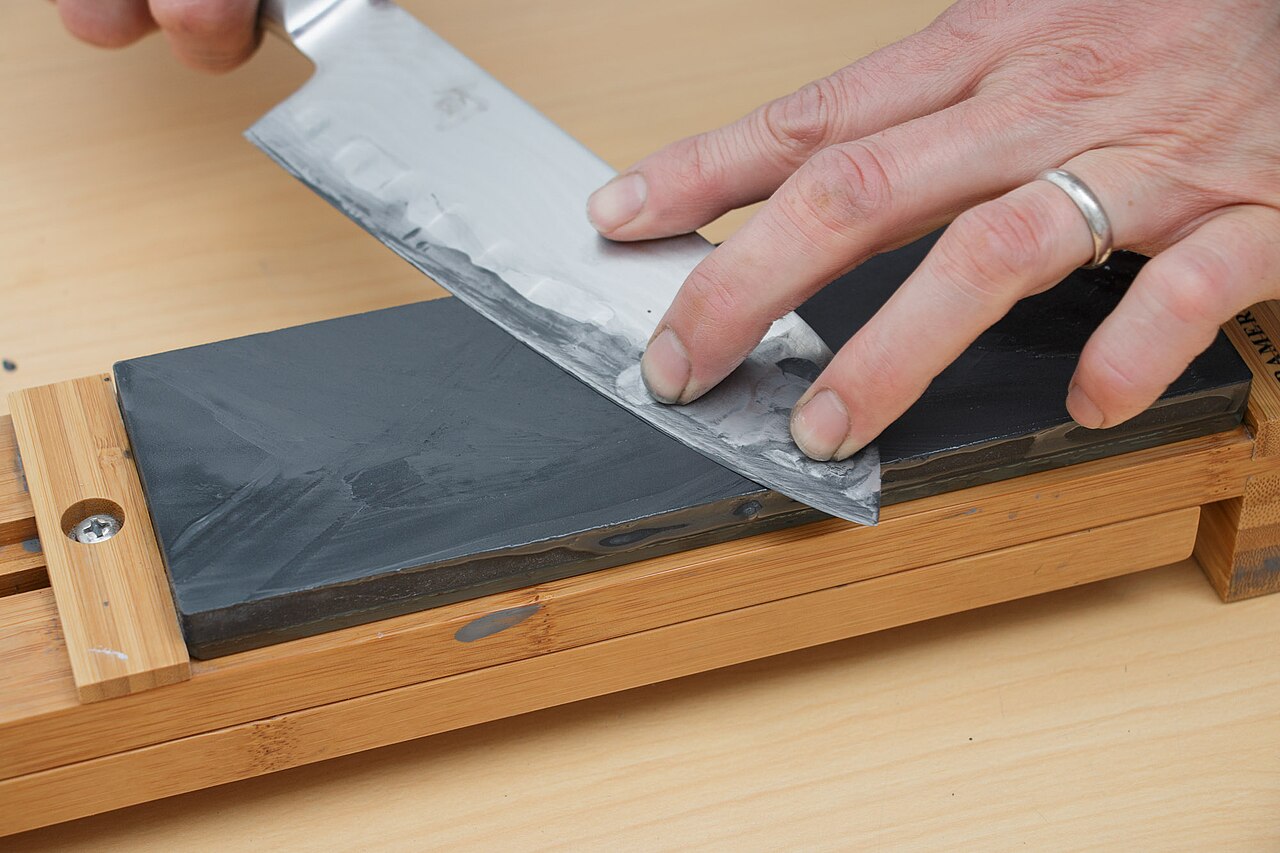
Before you begin
Start with a plain, straight edge that is dull from use. A deep chip, bent blade or missing tip needs repair; a single-bevel yanagiba, deba or usuba has a different geometry, as Sakai Ichimonji’s maker instructions explain. Serrations also need a separate method. If your knife falls into one of those groups, stop here and ask its maker or a qualified sharpener.
Use a medium stone around 1000 grit for an edge that has become dull through ordinary use. A coarse stone removes steel faster and is for substantial repair; a finer stone can refine an edge after it is formed. The whetstone grit guide explains those choices.
Check the stone’s own instructions before adding water; Naniwa’s sharpening guide likewise tells users to prepare the specific stone as directed and keep it secure. Some stones soak; others need only water on the surface. Put yours on a holder or folded damp towel on a stable worktop. Press it gently before starting: if it moves, stop and secure it. If it is dished, check it with the pencil-grid flattening guide first.
Wash and dry the knife, clear the work area, and keep a towel nearby. Hold the handle securely. Keep the pads of the guiding hand on the blade flat well behind the cutting edge; never let fingers wrap over it. Reposition that hand only while the knife is stopped. Use controlled movements and light pressure; a wet stone is not a reason to rush.
Sharpen the whole edge
- Find the existing bevel. Lay the edge bevel against the stone and lift the spine only enough for that bevel to meet the surface. Follow the factory geometry rather than chasing a number. If contact is hard to see, colour the bevel with a marker and make a few light passes: ink removed across the bevel shows where the stone is touching. The angle guide explains the marker check and why angle figures vary.
- Work from heel to tip in overlapping zones. Lay the blade diagonally across the stone, following the approach shown in Miki Hamono’s maker instructions for double-edged knives. Start near the heel and make controlled back-and-forth passes while keeping the bevel in contact. Move the guiding hand along the blade flat so pressure follows the section being sharpened; reposition it only while the knife is stopped. Overlap into the middle. Continue through the curved tip; adjust your wrist or lift the handle slightly to keep the bevel touching instead of rounding the tip by rocking the blade. Use light pressure and the full stone face. Do not grind harder or count a fixed number of strokes.
- Work until the stone reaches the edge. The marker check shows where the stone contacts the bevel; it does not prove a burr formed or was removed. A burr is a thin lip of metal pushed to the opposite side as the bevels meet. For a non-contact screen, dry the blade, hold it under a bright light against a dark background, and look along the apex. A bright line or spot can point to a flat section, nick or wire edge. This check is limited: it may not show a tiny burr, and no reflection does not prove the edge is finished. ZWILLING’s maker guide describes the burr as a visible line of waste metal and warns that touching the edge can cause injury. Keep fingers away from the cutting edge. If a reflection remains, inspect for damage before taking another few light passes. If you cannot tell whether the stone reached the edge, stop and use the burr troubleshooting guide rather than removing more steel blindly.
- Repeat on the other side. Turn the knife so the opposite bevel meets the stone. Follow its existing angle and work heel, middle and tip in the same overlapping way. Do not assume every knife is ground symmetrically or needs the same number of passes on each side. The aim is a consistent, complete edge, not matching stroke counts.
- Reduce pressure and remove the burr. Once the whole edge has been worked on both sides, alternate light strokes on the same medium stone, keeping the bevel steady and easing pressure. Sugimoto Hamono’s maker instructions also stress a consistent angle, light pressure and burr removal at the end. Recheck the edge under bright light, remembering that a visual check is only a screen. Do not keep sharpening after the edge performs well, or add a coarse stone or fine polish just to make it look brighter.
Check the result and choose the next step
| What you notice | What to do |
|---|---|
| The knife makes a controlled slice through tomato skin with light pressure. | Test on a stable cutting board. Keep fingertips curled back and clear of the blade path. Miki Hamono’s maker check is a clean newspaper cut; the tomato test here checks a familiar kitchen task. Stop when the edge slices cleanly. Rinse and dry the knife and stone, then store the stone as its maker directs. |
| The edge catches in one short area or still feels dull after a careful pass. | Return to that zone, confirm the bevel is reaching the edge, and use a few light strokes. If the knife felt sharp and quickly lost its bite, read the burr troubleshooting guide. |
| The stone slides, your grip feels uncertain, the edge has a deep chip, or the knife is single-bevel or serrated. | Stop the session. Secure the stone or ask the knife’s maker or a qualified sharpener for the right method. Use the separate serrated-knife guide for a serrated edge and the damage guide for chips or a broken tip. |
A finer finishing stone or strop is optional for a useful kitchen edge. Matching the existing bevel and maintaining it consistently are essential. Keep the stone flat and follow its maker’s care instructions; the H&G guides to setting up one whetstone and flattening it when needed cover those jobs separately.