To cut a whole chicken wing into pieces, find each joint with your fingertip, bend the wing to open it, and cut through the soft cartilage between the bones, not through the bone itself. The first cut separates the drumette from the flat; the second takes the small tip off the flat. That gives you the drumettes and flats sold as party wings, plus a tip you can save for stock.
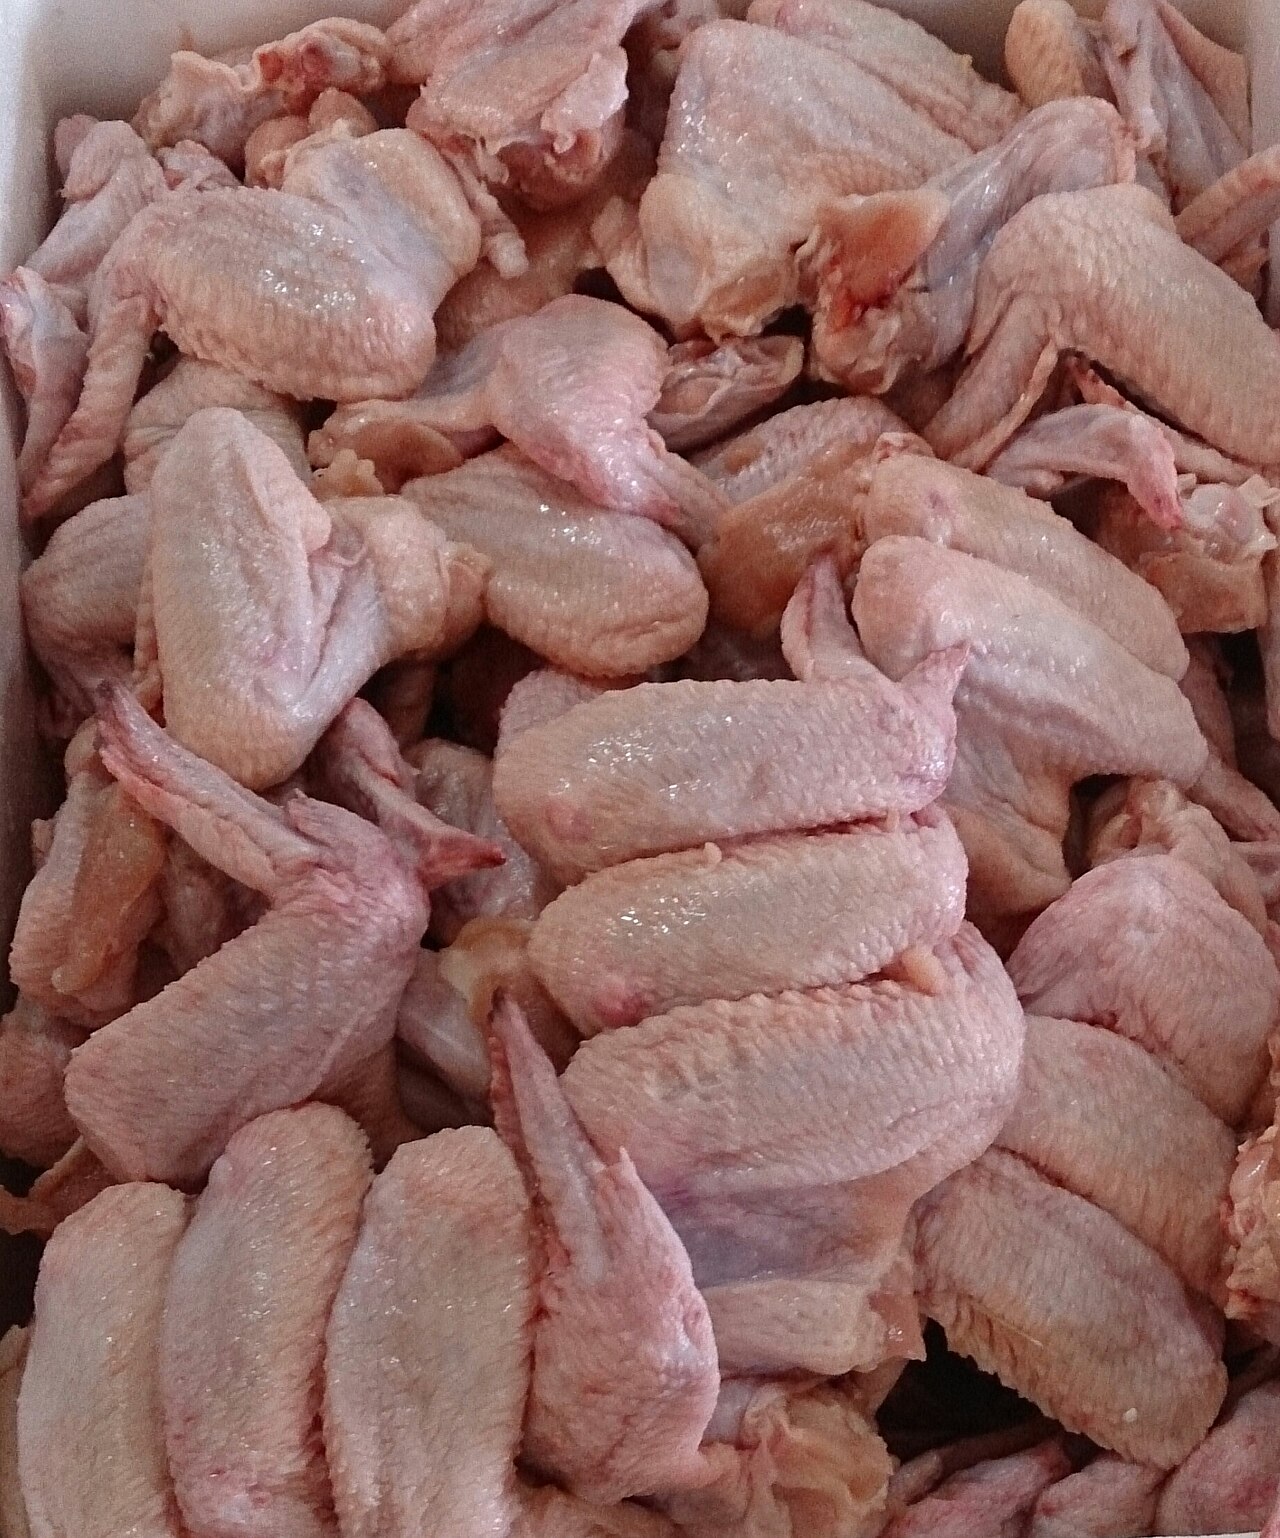
The three parts of a wing
Michelle McGlinn at Chowhound describes the full wing as the drumette, the flat and the wing tip. The drumette is the short, meaty piece that joined the body and looks like a small drumstick. The flat, also called the wingette, is the middle section with two thin bones running side by side. The tip is the pointed end, mostly skin and small bones.
Each pair of pieces meets at a joint. Samira Kazan at Alphafoodie says the joints look like a bump or ball and that you should be able to feel the ridge between them with your fingers. That ridge is your target.
Before you start
Use a board you keep for raw meat, poultry and seafood; FDA advice is one board for produce and a separate one for raw meat, and our guide to the cutting board for raw meat covers choosing one. Do not rinse the wings first. USDA’s Food Safety and Inspection Service (FSIS) does not recommend washing raw poultry, because bacteria in the juices can spread to other foods, utensils and surfaces, and rinsing does not destroy them; only cooking does. University of Maine Cooperative Extension starts with a clean board that has a damp towel or paper towel underneath, which stops it sliding. Pat the wings dry with paper towels so they do not slip in your hand.
Cut wings while they are raw, before they go into the fryer, the oven or an air fryer. FSIS says to use raw chicken within 1 or 2 days of buying it, or freeze it. Frozen wings need thawing first, and FSIS recommends three ways: in the refrigerator, in cold water or in the microwave, never on the counter.
Step by step
- Lay it skin side down. Alphafoodie stretches the wing out skin side down on the board so you can see the joints.
- Find the first joint. Bend the drumette back and forth against the flat and feel for the bump where they meet. America’s Test Kitchen locates each joint with a fingertip before the knife goes near it.
- Open it up. Chowhound holds the wing in a V shape and stretches it to expose the joint.
- Cut between the bones. Set the edge on the joint, over the cartilage rather than either bone, and press down through the skin and tendon. Alphafoodie places the knife over the ridge, not the bone, and says that makes the cut easier.
- If it stops, move. Resistance means the edge has found bone. Lift it, wiggle the wing, and try a little to one side until it slides through. With a thin Japanese edge, never twist, lever or force it.
- Take off the tip. Repeat at the smaller joint between the flat and the tip. The bones are thinner there, so the cut needs only light pressure once you are in the right spot.
If you cannot find a joint, Alphafoodie’s beginner method is to bend it backward until it pops, then cut at the loose spot.
What to do with the tips
ATK simply discards them. Chowhound says not to, because the tips are packed with collagen that helps thicken chicken stock, and Alphafoodie keeps them in the freezer until there are enough for a pot. Either is fine; the tips add little to a plate of fried or baked wings.
Knife, shears or cleaver
Chowhound’s point is that the type of knife matters less than its sharpness. A short, pointed blade such as a honesuki or petty knife suits the job, because the tip finds the gap and the edge only meets cartilage and skin. Our honesuki guide is clear that its edge is not made for chopping through wing bones: that is cleaver work.
Kitchen shears are the other easy option, and Alphafoodie lists them as an alternative to a chef’s knife. Our guide to kitchen shears notes that poultry joints and small bones are exactly the jobs shears take over from a thin, hard edge. If you ever need to cut through wing bone rather than around it, use shears or a heavy meat cleaver, not a Japanese knife.
Starting with a whole bird instead? Our guide to cutting up a whole chicken takes the wings off at the shoulder first.
Cook and clean up
FSIS says to cook all poultry to 165°F, and FDA lists the same safe minimum internal temperature for poultry parts, adding that a food thermometer is the only way to be sure. Never put cooked wings back on a plate that held them raw. Wash your hands with warm water and soap for at least 20 seconds, and wash the board, knife and counter with hot soapy water when you finish. For other meats and vegetables, browse all our how-to-cut guides.
Sources: Michelle McGlinn, Chowhound, How to Cut Chicken Wings Into Flats and Drums (the three parts, V shape, tips for stock, sharpness over type); Samira Kazan, Alphafoodie, How to Cut Chicken Wings (finding the ridge, cutting the cartilage not the bone, the pop method, shears); Cook’s Illustrated, How to Cut Up Chicken Wings (fingertip, blade between the bones, skin and tendon); University of Maine Cooperative Extension, Bulletin 4068 (damp towel under the board); USDA FSIS, Chicken from Farm to Table (do not wash raw poultry, use within 1 or 2 days, safe thawing, 165°F); FDA, Safe Food Handling (separate board, 165°F, thermometer, plates, handwashing, cleanup).