Kitchen knife guide
Choose what is happening. Get a practical first check and the full guide.
This finder offers checks, not a diagnosis. Stop if the knife is unsafe to control.
Start with the symptom
Six problems, six starting points
Read a starting point now, or use the finder above for a follow-up tailored to what you notice.
A knife wedges in carrots or potatoes
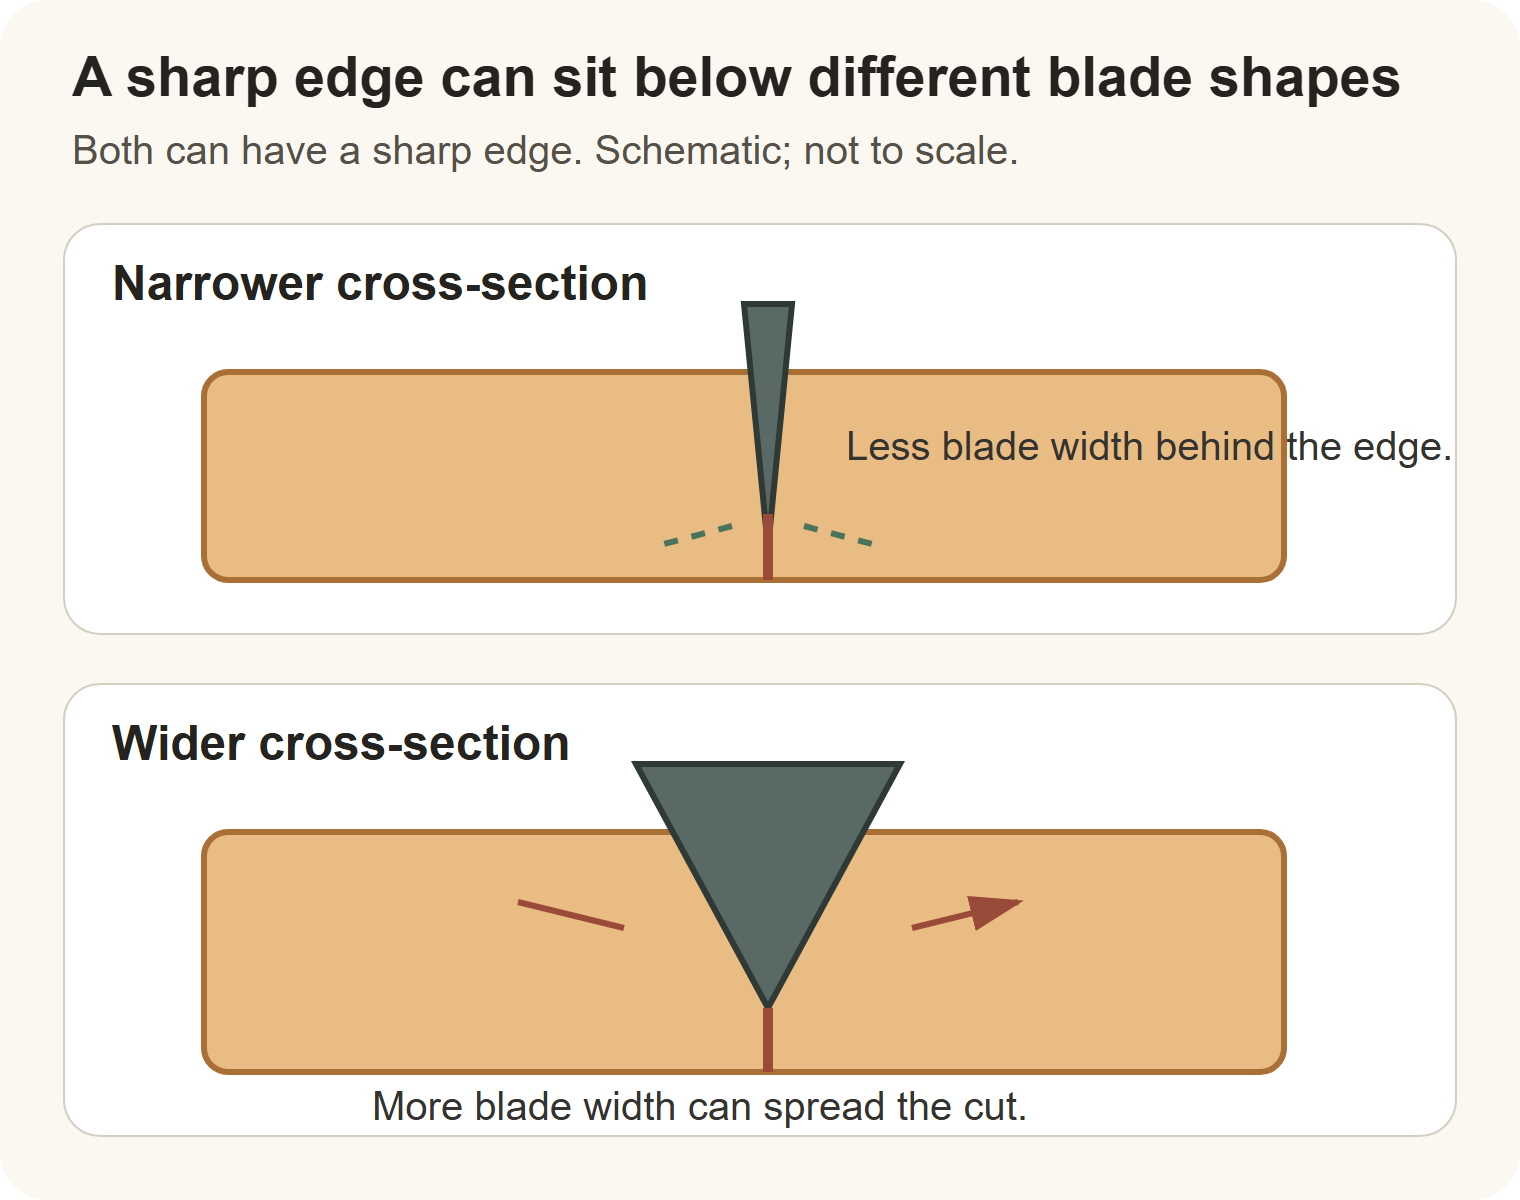
A knife may bite into a carrot and still wedge if resistance builds deeper in the cut. If the edge skates before entry, check edge condition first. If cutting feels smooth but a slice clings afterward, that is a separate food-release problem.
Before entry: the edge skates
Use a stable board and a flat-sided piece. If the edge still skates before entering, sharpening may be needed; the guide explains how to separate an edge problem from deeper wedging. Do not touch the edge to test it.
During the cut: it enters, then binds deeper
On a similar secure piece, notice whether resistance builds as more blade passes through; do not force the cut. If the same pattern persists, a sharpener can assess blade geometry. Do not thin the blade at home.
After the cut, a slice clings—or I am not sure
If the cut itself is smooth and the slice sticks afterward, treat it as food release. If you are unsure, make one gentle cut on a stable board and notice whether the edge skates, resistance builds deeper, or the slice clings after the cut.
Food sticks to the blade
Thin, moist slices can cling even when the cut itself feels smooth. A gentle draw-slice or smaller batch is a low-risk change; no blade finish guarantees release.
The cut feels smooth; the slice clings afterward
Try a gentle draw-slice or cut a smaller batch. Move loose food from the board with a bench scraper; keep fingers away from the edge if a slice is stuck.
The blade slows or pushes the cut sides apart
That is resistance during the cut, which is different from a slice clinging afterward. Use a stable, flat-sided piece and do not force the blade.
Both happen, or I cannot tell yet
On one safe cut, notice whether resistance builds before the slice separates or whether the cut finishes smoothly and the slice stays on the blade. No blade finish guarantees food release.
A knife cuts crooked
A crooked cut can reflect the knife’s grind, your motion, the food, the board, or visible damage. A single-bevel knife may steer by design; a sudden change or damaged knife needs assessment.
The knife has a single bevel, and drift repeats to one side
A single-bevel grind can steer the cut, and handedness matters. Check the maker’s description before treating the drift as damage.
The drift changes with the food, board, grip, or motion
Set the board on a stable surface and use a firm piece with a flat side. Repeat one careful cut without twisting; do not hold food in your palm.
There is visible damage, a sudden change, or I am not sure
If the blade is visibly bent, deeply chipped or cracked, or the handle moves, stop using the knife and arrange an in-person assessment. Do not straighten, pry, or sharpen across damage.
No burr forms while sharpening
First check whether the stone is stable and reaching the existing bevel from heel through tip. A burr may be too small to feel; more pressure is not the first fix.
Ink clears near the shoulder but remains at the edge
The stone may be contacting too low on the bevel to reach the apex. Make a small angle adjustment to match the existing bevel, then recheck. Marker removal checks contact, not sharpness.
Ink clears across the bevel, but no burr is noticeable
Contact across the bevel does not prove that a burr formed; a small burr can be hard to detect. Check the stone surface and coverage from heel through tip. Do not add pressure just to feel a larger burr.
The maker advises against marker, or I am not sure
Skip the marker. Check that the stone is stable and follow its maker’s water instructions. Keep fingers away from the edge; do not switch to a coarser stone just to make a larger burr.
A knife feels sharp, then dull quickly
A remaining burr can cause quick loss of bite, but incomplete sharpening, damage, and ordinary wear can also explain it. Inspect with the edge pointed away; do not use a finger or fingernail test.
It bites at first, then quickly tears or slips
A remaining burr is one possibility, not a diagnosis. If the edge is intact, use the guide’s careful deburring method; heavy pressure can make a burr larger or move it.
The same section never cut well
The stone may not have reached that section of the edge. With the edge pointed away, inspect for a bright reflection and review contact along heel, middle, and tip.
I am not sure, or I see a chip or crack
Do not keep abrading a chipped or cracked edge. Stop and have visible damage assessed. If there is no damage, use the guide to compare burr, incomplete sharpening, and ordinary wear without assuming one cause.
The handle moves against the blade
Stop using a knife if its handle moves against the blade. Do not heat, pull, wedge, glue, or keep cutting. Leave a secure handle installed; a moving assembly needs in-person assessment.
The handle has shifted relative to the blade
Stop using the knife and set it aside safely. Do not keep cutting, heat it, pull the handle off, wedge it, or cover the movement with glue. Arrange an in-person assessment.
I see a crack, gap, loose ferrule, or discoloration
Stop using the knife and leave the handle installed. Those visible signs can change the repair route; do not conceal them with adhesive or force a refit. Ask a qualified knife repairer to inspect it.
I am not sure, and have not checked closely
If the handle may be moving, stop using the knife and set it aside safely. Do not test by twisting or pulling it, and do not remove a secure handle just to measure hidden dimensions. Arrange an in-person assessment.
These checks cannot diagnose damage from a distance. Stop using a knife that cannot be controlled safely.