A useful bread knife gets through the crust without crushing the bread beneath it. For a Japanese bread knife, begin with the loaves you cut, the space available for a back-and-forth stroke and the handle clearance above your board. Steel and finish come after those three decisions.
Choose enough blade to travel through your usual loaf in a controlled stroke. Look for an edge intended for that kind of bread, and decide before buying how it can be maintained. “Made in Japan” identifies an origin; it does not make every bread knife the same tool.
Why bread asks for a different edge
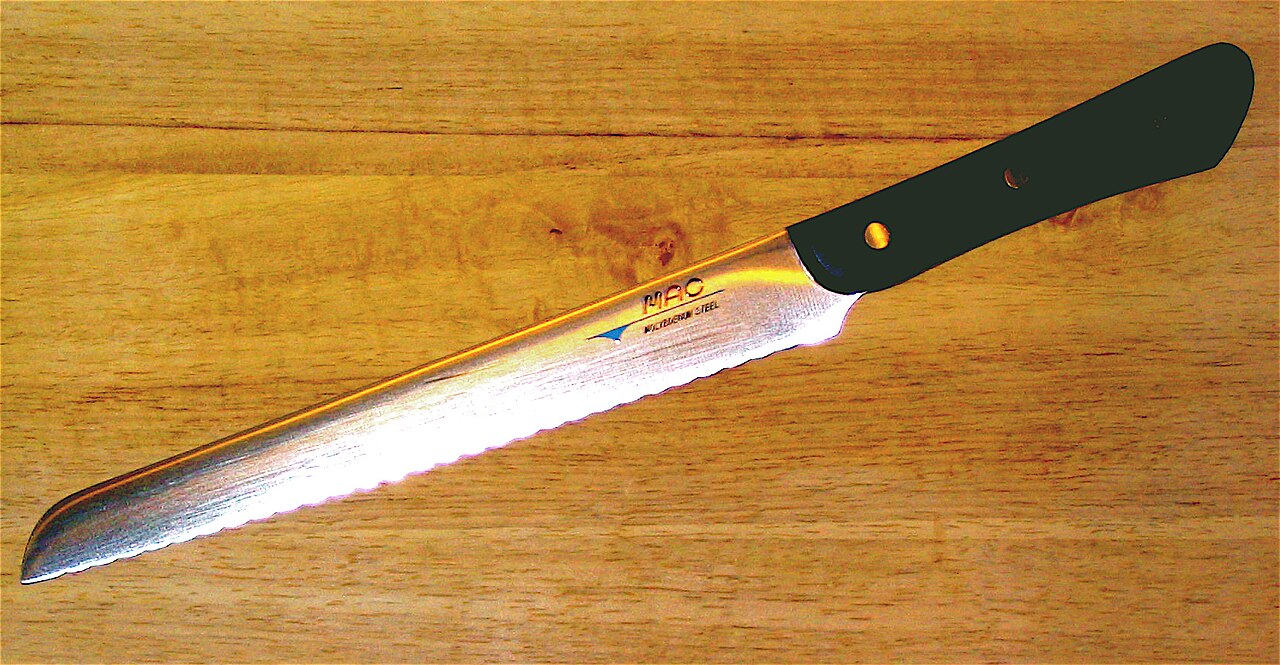
A crusty loaf presents two different jobs: enter a resistant outside, then pass through a softer interior. Pressing harder to solve the first can squash the second. Serrations create small contact points that engage the surface as the blade moves, allowing a sawing action rather than relying mainly on downward force.
Shun’s explanation of serrated edges describes this contact between raised teeth and the food. The useful consequence for the cook is a lighter, travelling cut. A bread knife is still sharp; the shape is not an invitation to grip the loaf close to the moving edge.
For soft sandwich bread, compression is often the obvious problem. For a hard-crusted loaf, it may be getting a controlled first purchase on the crust. Assess the knife against the failure you actually want to solve, rather than treating a dramatic-looking serration as proof of a better slice.
Serrations are not all arranged the same way
Some bread knives use a repeated wave-like edge. Others combine sections with different tooth spacing or a short plain section. These are deliberate design differences, and the manufacturer’s explanation can be more informative than the steel label.
For example, SUNCRAFT’s Seseragi combines larger and smaller serrations with a straight section at the tip. SUNCRAFT associates the larger pitch with entering hard surfaces, the smaller pitch with soft bread, and the tip section with finishing the lower crust. KAI’s SELECT100 bread knife also describes three edge sections for different parts of the cut.
These examples show what to look for in a design explanation. They are not comparative cutting tests, and a mixed edge is not automatically preferable to a consistent one. A cook who mainly slices one familiar loaf may value a simple, predictable stroke more than a feature list.
Choose room for the stroke, not merely enough length to touch both sides
Measure the width of the loaf where you normally cut it, then consider how far the knife can move forwards and backwards on your board. A blade just spanning that width leaves little working travel before part of the edge moves out of the cut.
You can check the space with a ruler before ordering: mark the proposed blade length, allow for the handle behind it, and picture the loaf in its usual position. Check the wall, nearby crockery and other food as well as the board itself. More length is useful only if you can use it comfortably.
For compact loaves on a small counter, a shorter knife may fit the routine. A broad round loaf makes greater reach more valuable. Neither choice needs a universal inch rule; your bread and available stroke are the relevant dimensions.
Two real knives show why blade length is not the whole specification
TOJIRO lists its CLASSIC F-828 bread slicer at 215 mm blade length, 345 mm overall and 180 g. Its F-737 bread slicer is 235 mm at the blade, 375 mm overall and 110 g.
The longer model is lighter in these listings. The handle and construction differ, so length alone cannot predict how substantial the knife will feel. Compare total dimensions for storage and blade dimensions for cutting; do not substitute one for the other.
Handle position matters too. An offset handle raises the hand relative to the edge. Shun points to this clearance when discussing its bread-knife options. If your knuckles meet the board before the bottom crust separates, investigate clearance rather than assuming you need more blade length.
Let the edge travel through the loaf
Start with the loaf stable on a suitable board and your supporting hand clear of the blade’s path. Use smooth back-and-forth strokes with modest downward pressure. Shun’s bread guidance recommends this light action for protecting a soft interior.
If the top is entering cleanly but the slice is being compressed, reduce the force and allow more of the edge to travel. If the knife repeatedly slips, catches or tears despite a controlled stroke, stop and consider its condition and suitability. Forcing a reluctant knife is not a useful test of either your technique or the loaf.
A bread slicer earns its place beside the everyday knife; it need not replace one. The gyuto versus santoku guide covers the tools that will still do most chopping and general preparation.
Ask about sharpening while the knife is still new
Serrated edges need different maintenance from a plain edge. TOJIRO states that its serrated slicers cannot be resharpened because of their structure. Shun’s serration guide also excludes serrated knives from its ordinary sharpening service and identifies a separate compatible maintenance tool.
That difference makes the service question worth asking before purchase. Find out what support exists for the exact model, then include that answer in the cost of ownership. Do not run an unfamiliar serrated edge through a sharpener intended for straight blades.
If you already own a serrated bread knife, see our how to sharpen a serrated bread knife guide for a model-specific maintenance route.
Wash, dry and store the knife with its teeth protected. Choose it for the bread you cut and the space in which you cut it; the useful result is a controlled slice, not the longest specification sheet.