To use a sushi mat, place the bamboo strips horizontally, arrange the nori and filling near the edge closest to you, then lift that edge to bring the nori around the filling. As the roll closes, pull the mat up and away so it stays outside the sushi. Apply gentle, even pressure through the mat to shape the roll, then unwrap it.
The important movement is the release. The makisu supports and shapes the food, but it must peel back as you roll forward. Trying to wind the mat and sushi together traps the bamboo inside the roll.
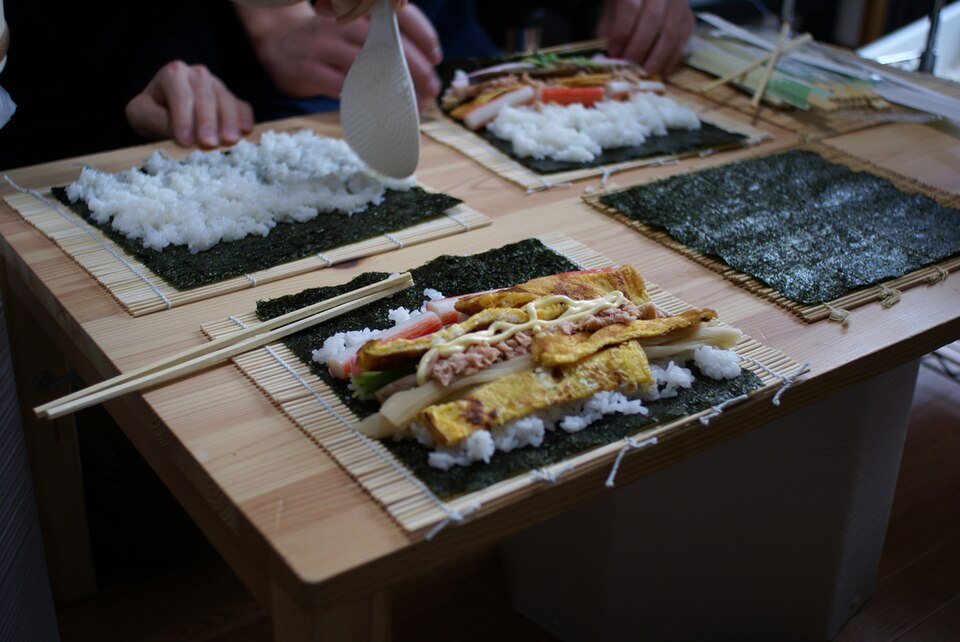
Set out the mat, rice and filling first
A makisu is a flexible sheet of bamboo strips joined with thread. Lay it on a clear board so the strips run left to right and the binding threads run away from you. On a traditional mat with distinct faces, place the smooth face upward and the thread knots at the far side. Kikkoman’s makisu glossary illustrates that orientation.
Prepare your sushi rice and filling before you start rolling. Use a complete recipe for quantities: a mat cannot compensate for too much rice or a filling bundle wider than the nori can enclose. A simple cucumber roll is a useful first task because you can concentrate on the wrapping motion.
Have the filling cut and laid out within reach, with room beside the mat for the finished roll. If you are making several, keep the assembly area orderly so the seam and mat remain visible. For the rice-mixing vessel, our hangiri and ohitsu guide explains which one is intended for preparing sushi rice.
Make a nori-outside roll
Place the nori on the mat with its smooth side down. Spread the recipe’s rice across it, leaving the specified uncovered strip at the far edge for the seam. Keep the layer reasonably even; a thick ridge beside the filling makes the first turn harder to close.
Arrange the filling across the rice in a line parallel to the bamboo strips. Follow your recipe’s position and quantity. In Kikkoman’s futomaki method, the filling sits a little nearer the cook than the centre, and the rice leaves a margin at the far edge.
Hold the filling in place with your fingers while lifting the near edge of the mat. Bring the nori and rice up and over the filling, forming the first enclosed turn. Pause to settle the shape with gentle pressure through the mat. At this point, check that the near edge has travelled around the filling instead of simply pushing it forward.
Now lift the leading edge of the mat clear and move it away from you while the sushi rolls forward. Finish joining the nori, shape lightly through the mat, then open the mat to release the roll. You should be able to remove the tool without pulling the nori apart.
Kikkoman’s thin cucumber-maki recipe shows the same principle with a smaller roll: leave a seam margin, lift the mat’s edge, and move the roll forward until the nori edges meet. The quantities and sheet size differ from futomaki; the release movement is shared.
Use a barrier when rice is on the outside
An inside-out roll, or uramaki, puts rice against the working surface rather than enclosing it entirely in nori. A food-wrap barrier keeps that rice from lodging between the bamboo strips.
In Kikkoman’s uramaki recipe, the rice-covered nori is covered with plastic wrap and turned over so the wrap faces the mat. The filling is then added on the nori side. The same lifting and shaping action forms the roll, with the barrier remaining outside the food and removed before serving.
Follow the full recipe when changing from nori-outside to rice-outside rolls. It is more than turning a completed roll inside out. Before each movement, keep track of three separate layers: the food, the temporary barrier and the mat. Only the food belongs in the finished sushi.
Fix the cause of a loose or crowded roll
Filling escapes at the ends. Reduce the filling on the next roll and spread it along the available width. Squeezing harder at the middle forces the contents toward the open ends. Check that the first turn actually encloses the filling.
The nori will not meet. Look at the rice layer and filling quantity before blaming the mat. If there is too much inside, remove some and re-form the roll. Preserve the seam margin called for by the recipe.
The mat gets caught. Stop and open the trapped section gently. On the next attempt, lift the mat edge away once the first turn has formed, letting the sushi continue forward beneath it. This is a coordination problem, not a need for stronger pressure.
The nori becomes wet before you finish. Check the mat and work surface. Kikkoman advises dampening a bamboo mat and wiping it before use, while warning that excess water can soak the nori. The mat should not be dripping.
Choose, wash and store the mat sensibly
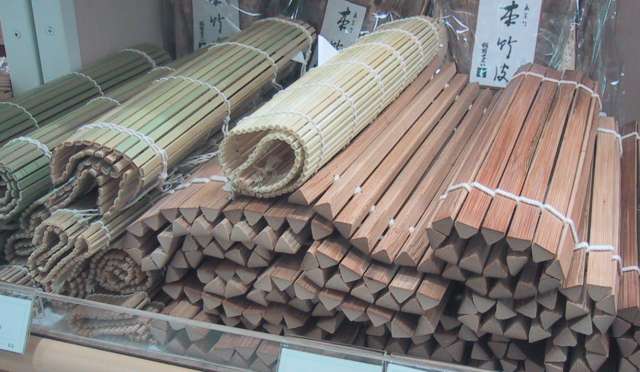
For the rolls you intend to make, choose a mat that supports the nori sheet comfortably and can flex smoothly around it. A larger mat does not by itself make larger fillings workable; the nori and recipe still set the roll’s limits. Plastic and silicone versions have their own cleaning instructions.
Wash a bamboo mat after use, remove rice caught near the bindings, and dry it completely before storing it in a ventilated place. Kikkoman specifically advises against putting bamboo makisu in the dishwasher. Leaving it tightly rolled while wet makes checking and drying the inner surfaces difficult.
Without a mat, a sheet of parchment or food wrap larger than the nori can provide support, as Kikkoman notes. It gives less structure in your hands, so keep the first roll simple. A makisu earns its place when that flexible support makes rolling and shaping easier; it need not come with an elaborate sushi set. See our Japanese kitchen tools guide for the wider toolkit.