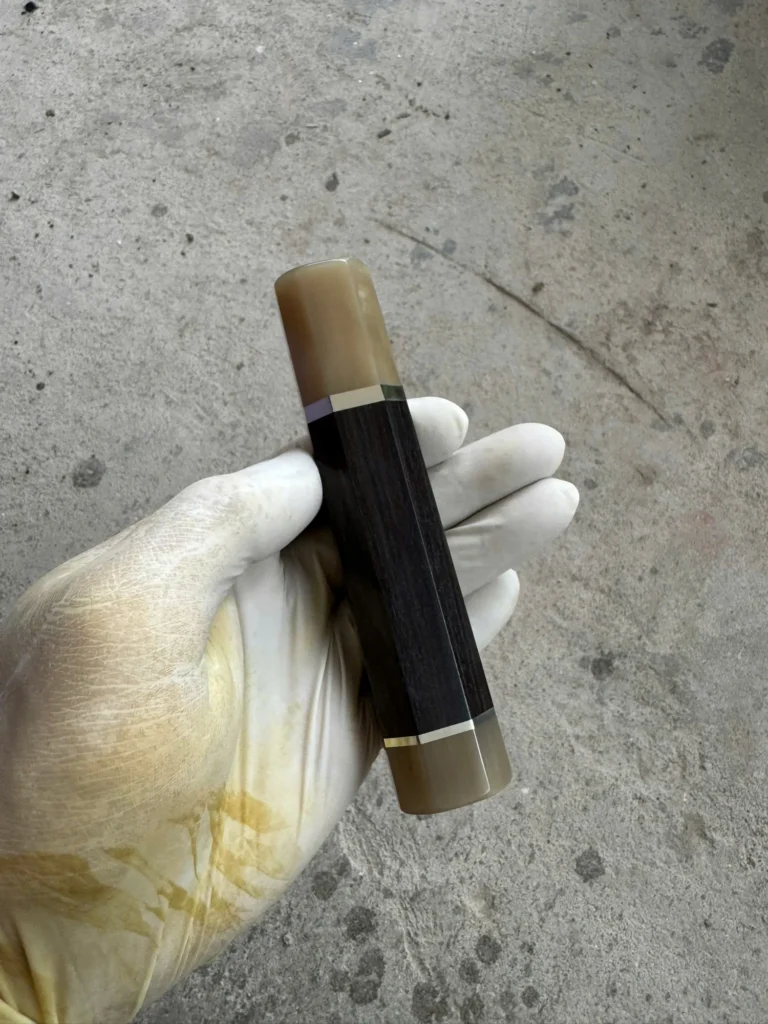
Many Japanese knives arrive with a squared, sometimes sharp spine and choil—the exposed section at the heel between the cutting edge and handle—because makers often finish the cutting edge while leaving these comfort surfaces to a retailer or owner. This varies by maker and signals nothing about quality either way. Ease only the two corners touched in a pinch grip: the spine just ahead of the ferrule and the choil. Use fine abrasive by hand. Never touch the blade face, cutting edge, or a single bevel’s bevel and back. The ferrule is where the work stops.
The two comfort corners—and everything outside them
A pinch grip matters here only because it identifies the contact points; this is not a lesson in how to hold a knife. The relevant areas are the spine for the few centimetres ahead of the ferrule and the corner of the choil that rubs the index finger. A squared feel in either place is not, by itself, evidence of a defective or poorly made knife.
This is a local comfort adjustment, not a general polish. Ease the rubbing corner until it no longer feels sharp against skin. Do not continue along the full spine, flatten the choil, change the heel profile, or blend the work into the blade face. The cutting edge remains completely untouched.
The anatomy of a Japanese knife names the surrounding parts. In particular, the machi is the blade-to-tang transition covered by the ferrule. It is not part of this job. Nothing at the ferrule, inside it, or behind it on the handle needs to be altered.
Doing it yourself or sending it out
Careful hand finishing can be reasonable on an ordinary double-bevel knife when the two target corners are easy to isolate and a small cosmetic change is acceptable. The essential skill is restraint: removing enough sharpness to stop the rubbing without allowing the abrasive to reach another surface.
One specialist sharpener’s service page presents spine and choil easing as a separate service. That shows that sending the work out is a normal option, but it is neither a recommendation of that provider nor proof that every squared knife needs professional work.
Choose a specialist when the knife is valuable, when kurouchi—the dark forge scale generally left on the blade—must remain intact, or when the knife has a single bevel. The same applies if the boundary between the choil, face, and edge is difficult to see. Abrasive must never run onto the blade face or cutting edge, and it must never touch the bevel or back of a single-bevel knife.
Sandpaper or stone
Abrasive paper is easiest to control when supported by a firm backing. The backing keeps pressure on the selected corner instead of letting the paper fold across the blade face. For the curved part of a choil, a small firm dowel can support the paper, but the paper must remain on the comfort corner. It must not roll onto the face or approach the cutting edge.
A loose “shoeshine” strip can wrap farther around the metal than intended. If that motion makes the abrasive boundary hard to see, use supported paper instead. With either approach, the abrasive surface never belongs on the blade face, the cutting edge, or any single-bevel surface.
The corner of a stone can also ease a spine or choil with short, controlled contact. Present only the target metal corner to the stone. Do not sweep the blade face across it, let the cutting edge meet it, or use it on the bevel or back of a single-bevel knife.
Work from a medium abrasive toward a fine finish, but treat those words as categories rather than a fixed recipe. The whetstone grit guide explains abrasive grades; forum sequences are not a specification for this task. Different abrasives cut differently, and the starting condition varies from knife to knife.
Inspect frequently and stop when a fingertip no longer catches on the comfort corner. The goal is a smooth contact point, not a mirror polish, a prescribed radius, or the removal of every visible finishing mark.
What happens to the blade finish
A kurouchi surface can be protected while its corner is eased, but exposed metal may become visible exactly where the abrasive has worked. Migaki—a clean, polished blade finish—can also be eased, though an accidental scratch may stand out strongly against its even surface.
Mask the blade face beside the working area before starting. One stray stroke onto the face scratches migaki and strips kurouchi scale. Masking provides a final barrier; it does not make the face an acceptable place for abrasive contact.
Keep the change narrow and inspect it under clear light. If preserving the original appearance matters more than doing the work at home, that is a sound reason to stop and use a specialist.
The single-bevel exception
On single-bevel knives such as yanagiba, deba, and usuba, the spine is the same job as on any knife. It can be eased locally while the blade face and cutting edge remain protected.
The choil is less forgiving because it sits beside both the bevel and the hollow back. The ura—the hollowed back surface—and the shinogi line—the ridge where the wide bevel meets the upper blade face—must never be touched. Abrasive must also stay off the cutting edge, blade face, and bevel.
For a single-bevel knife, the conservative answer is therefore to ease the spine only or send the knife to a specialist. A more comfortable choil is not worth altering the ura, shinogi line, bevel, or edge.
Protecting the ferrule and handle
Tape the ferrule and the first part of the handle before beginning. Abrasive dust can become trapped against the surface, and a stray stroke can mark both horn and wood. Keep the abrasive and every working motion ahead of the ferrule.
A loose or split ferrule is a fitting problem, not a spine-and-choil problem. That boundary belongs in how to install a wa handle. A replacement handle will not correct a sharp spine or choil, and a secure handle does not need to be disturbed for this work.
Do not use power tools. They remove material quickly, make the working boundary harder to control, and allow heat to build fast in a thin section. Hand pressure and frequent inspection make it easier to stop as soon as the rubbing corner becomes comfortable.
The finished result should be modest: two eased contact areas, an unchanged face and cutting edge, and no work at or behind the ferrule. Comfort is the test. Once the fingertip stops catching, the job is complete.