A ferrule gap is a location description, not yet a repair diagnosis. Before filling it, forcing it closed or choosing a refit, identify the two surfaces on either side. An exposed neck at the blade, an opening around the tang and a separation between horn and wood are different observations.
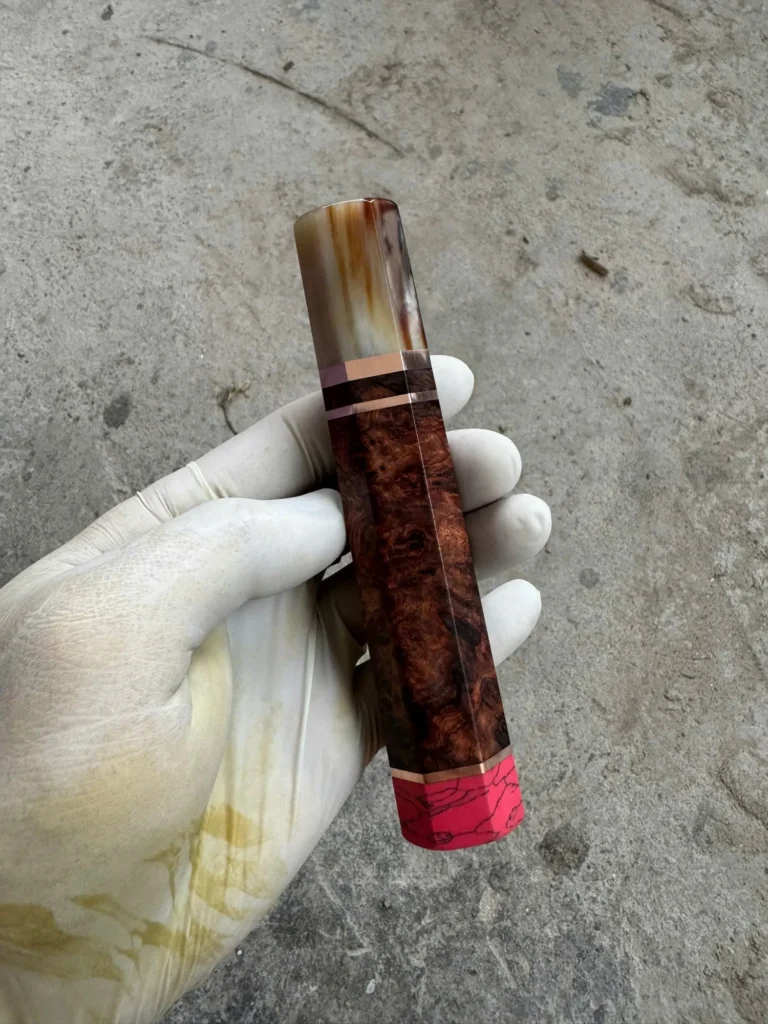
Between the blade and the handle
Look first at the metal immediately in front of the ferrule. Some single-edge knives intentionally leave part of the neck or machi visible, while others tuck that geometry into the handle. Sakai Ichimonji’s guide to single-edge knife anatomy illustrates these visible and tucked-in conventions.
An established, unchanged machi space may therefore be part of the knife’s intended geometry. There is no universal distance or requirement that every blade shoulder sit flush with every wa handle. This possibility does not, however, certify a separate crack or joint opening as harmless. The tang-seating guide covers the evidence used to consider intended seating.
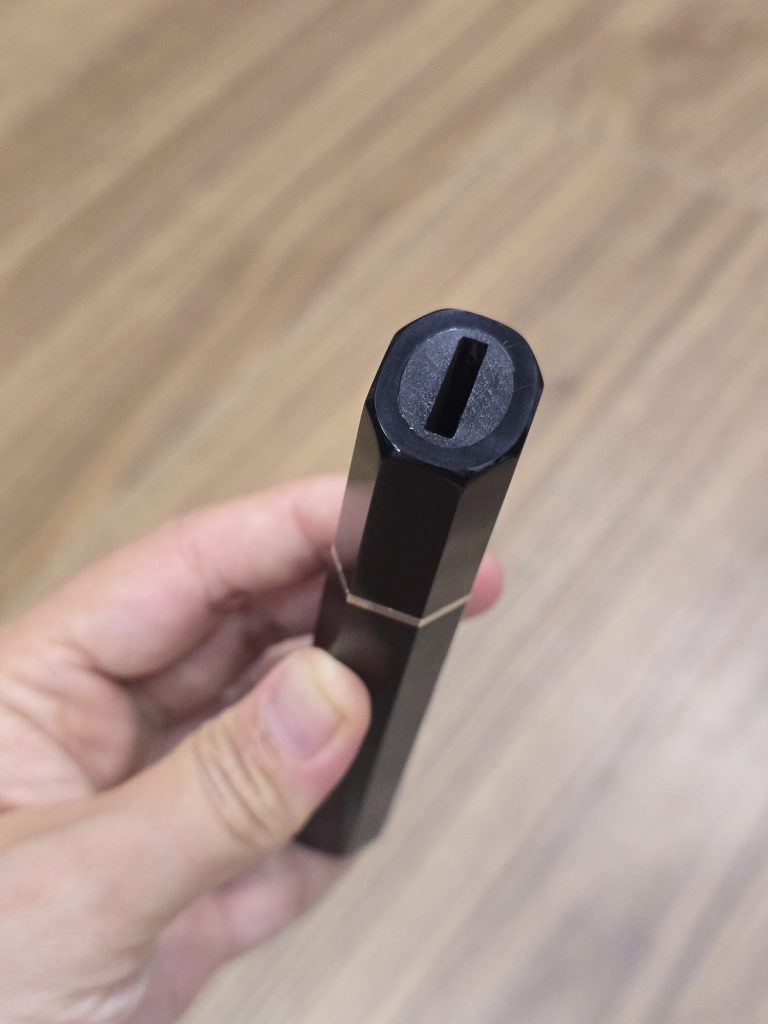
Around the steel entering the ferrule
A space surrounding the tang at the handle entrance is the socket area. Record whether it is new, changing or visibly different from earlier photographs. Also note any handle movement that was already apparent during ordinary use, but do not wiggle or stress-test the assembly.
If the components appear intact but the seating has changed, refitting may be one route for an installer to assess. The opening alone cannot establish that the hidden tang and socket are sound, so it should not simply be concealed with filler.
Between the horn and the wood
A line farther back, where the ferrule meets the wooden body, is a material joint rather than blade geometry. A newly opened seam, crack, lifted edge, bulge or detached part calls for damage assessment. Sakai Ichimonji’s handle-replacement guidance notes that cracks and ferrule damage can allow moisture into the tang area and that corrosion can affect repairability.
Photograph the location in clear, consistent light and compare it with any earlier image. Do not remove a secure handle merely to inspect or measure what is hidden. Keep the assembly clean and dry according to the wa-handle care guide. If a crack is present or movement has already been noticed, pause use and follow the crack-assessment guidance rather than forcing the joint closed.