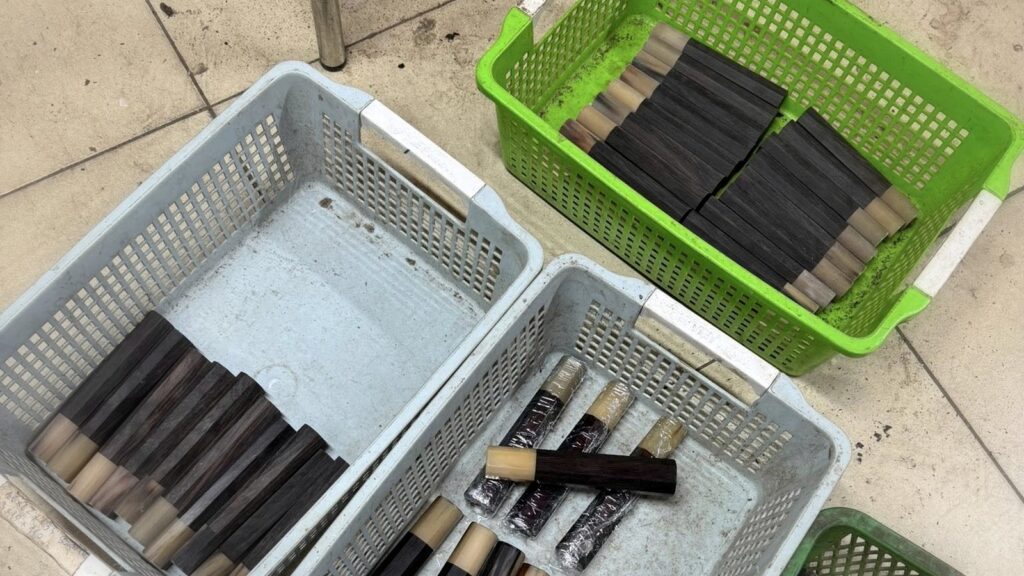
Every measurement and photo is optional before buying. After payment, add or correct them on your order page until we start at the bench. Choose your path: Handle still installed or Tang already exposed.
Save the two-path fit reference. Keep the installed-handle and exposed-tang checks together for reference.
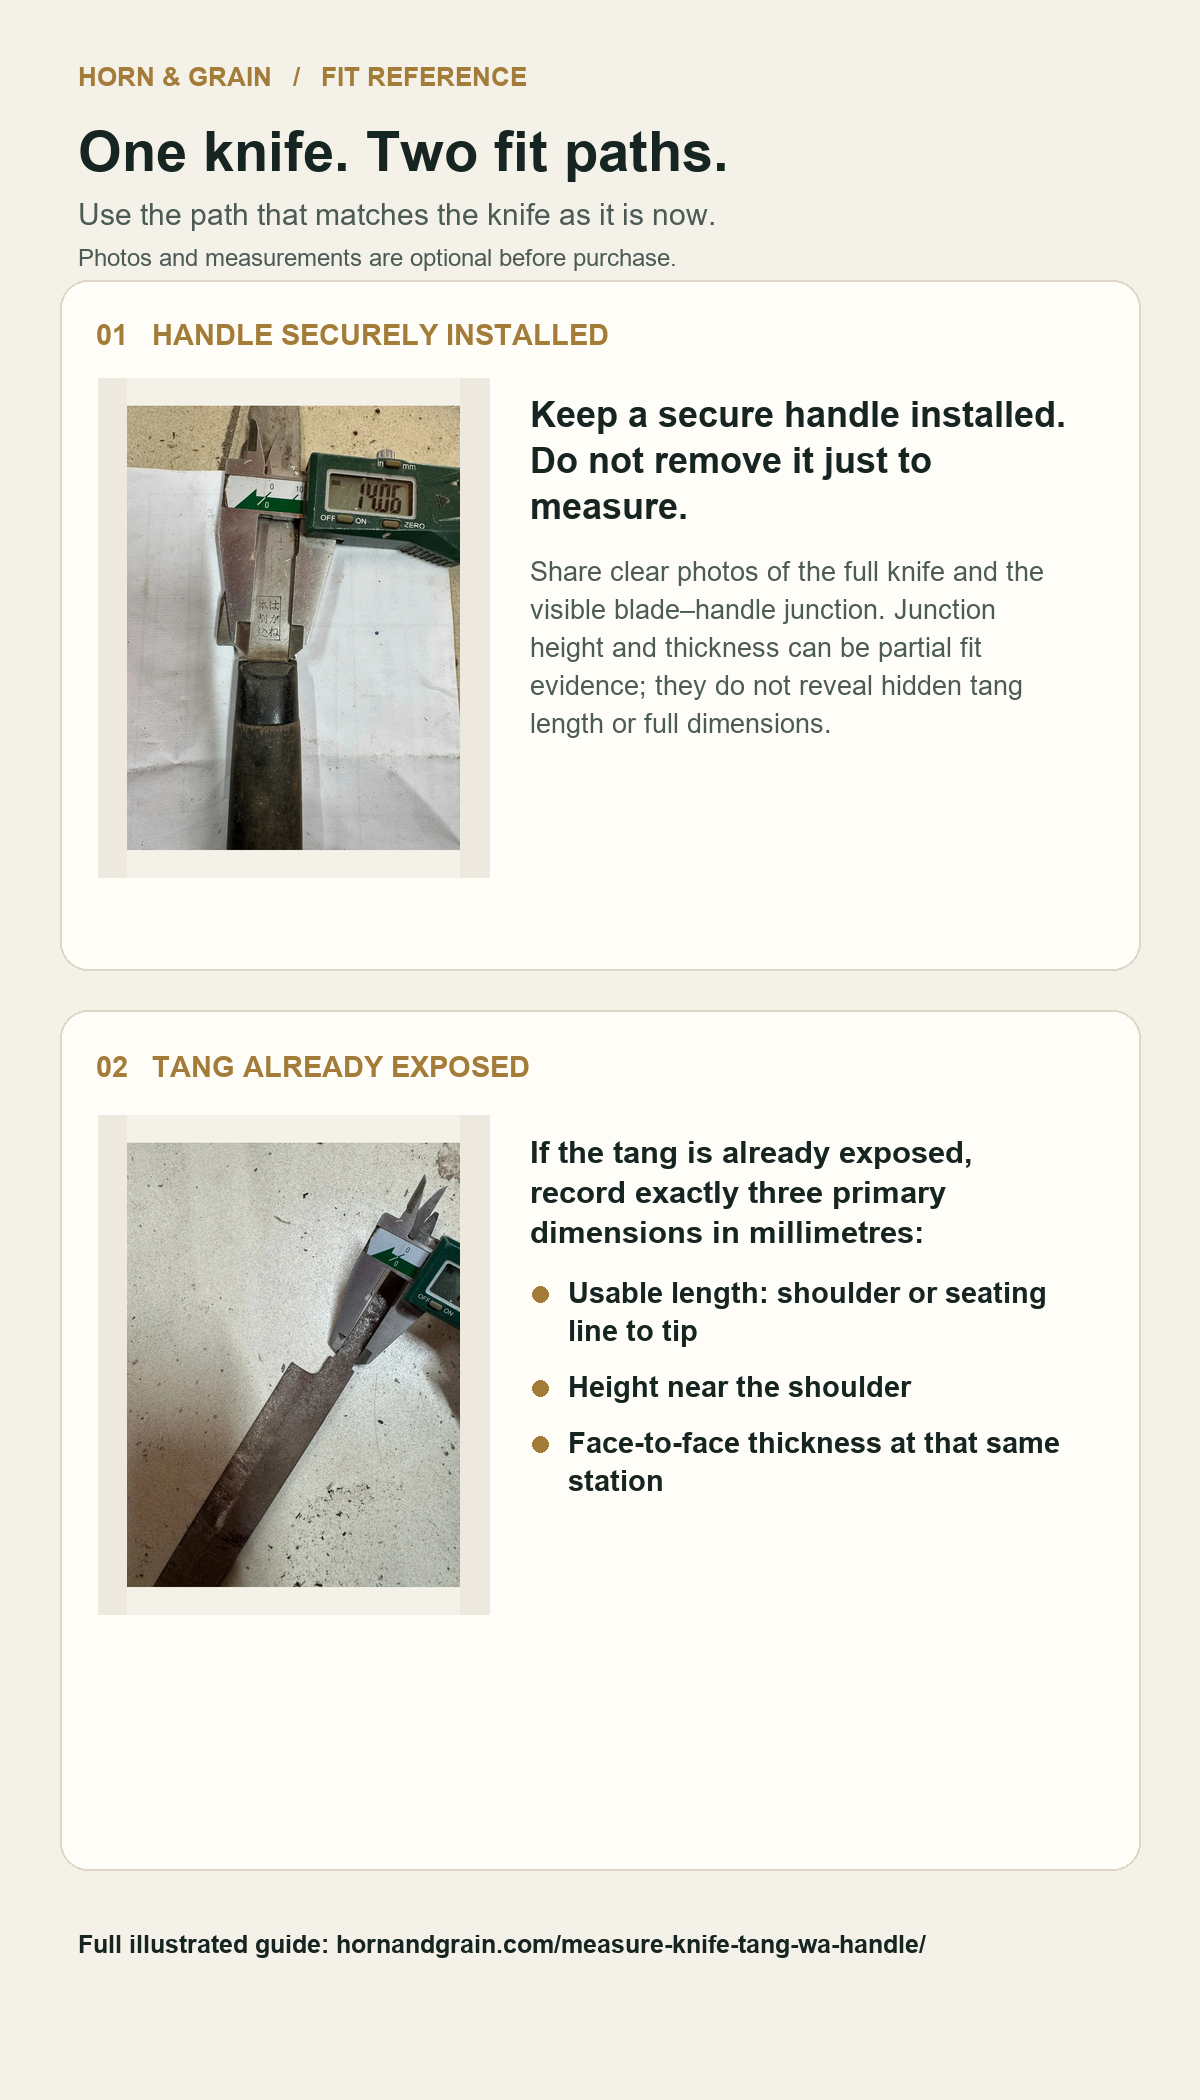
Handle still installed
Leave a secure handle in place. The machi is the visible blade–handle junction. Height and thickness measured there are partial fit evidence; they do not reveal the hidden tang.
If tang length is not accessible with the handle fitted, record “Not available — handle installed.”
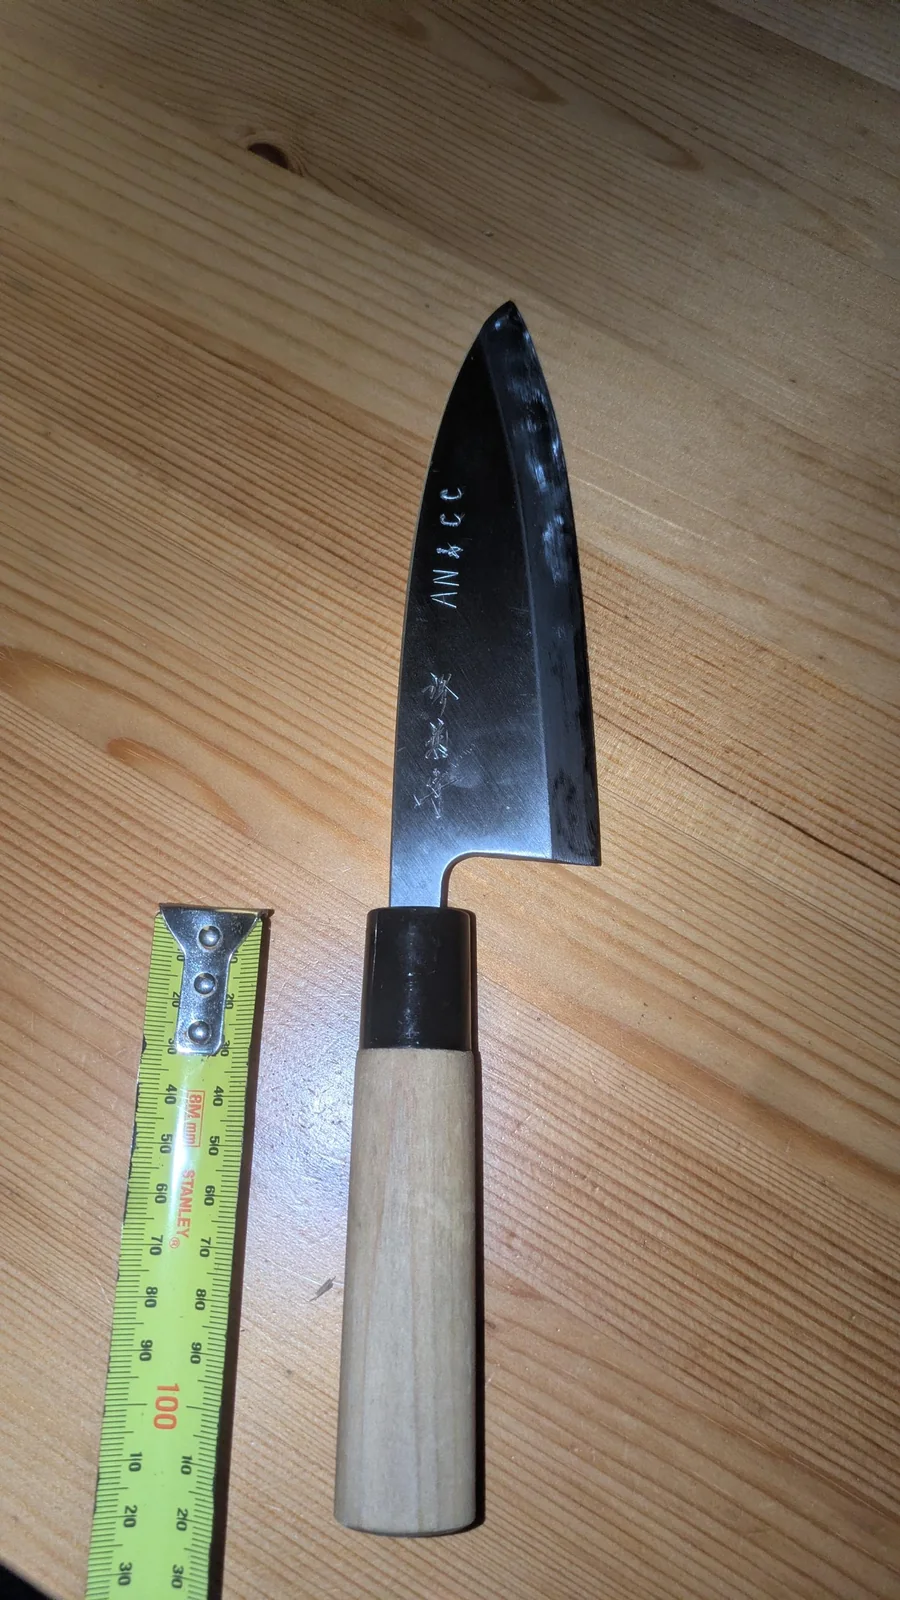
Optional current handle length
Handle length from front to end is optional context; it is not tang length.
If you are curious about how tang depth affects the finished fit, see How Deep Should the Tang Seat in a Wa Handle?
Visible junction height
Measure the visible metal from top to bottom at the machi.
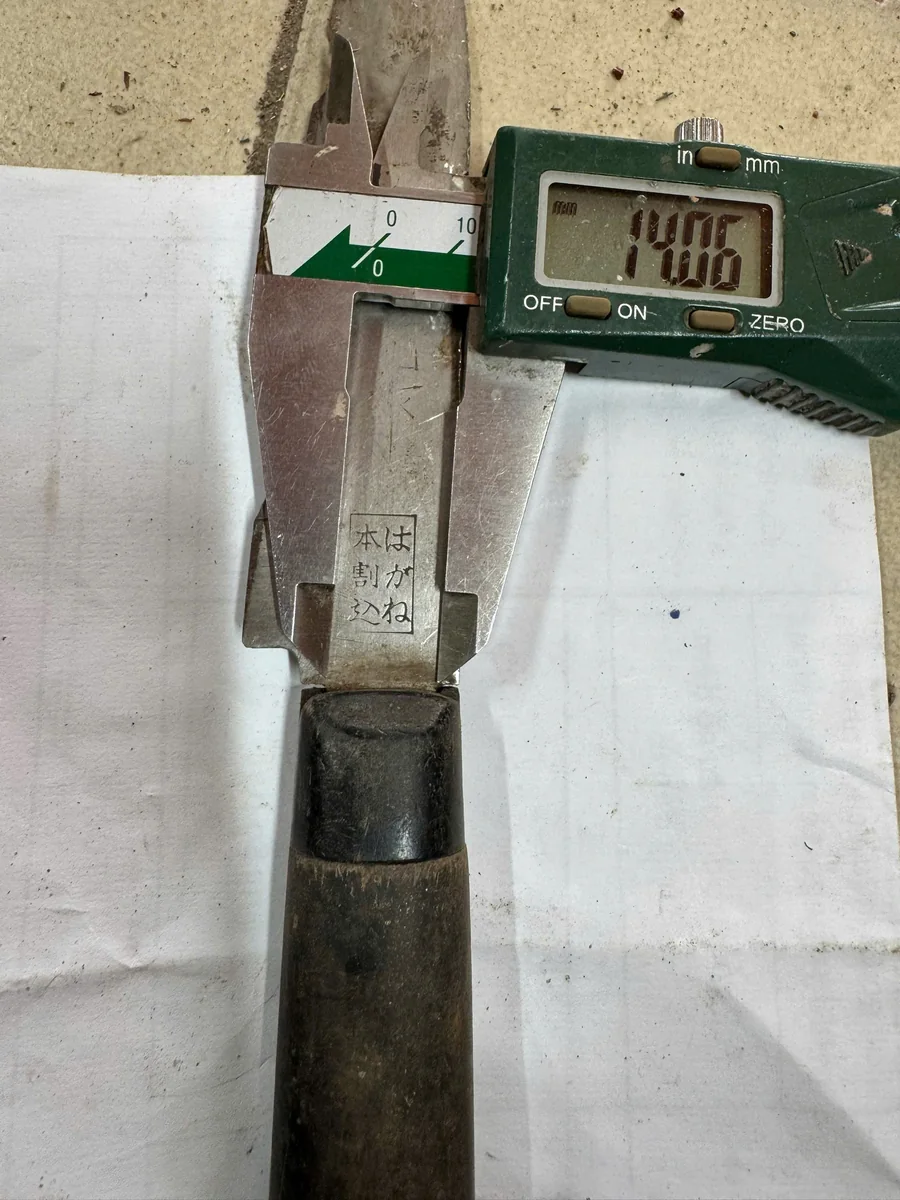
Visible junction thickness
Measure the visible metal face to face at the same machi junction.
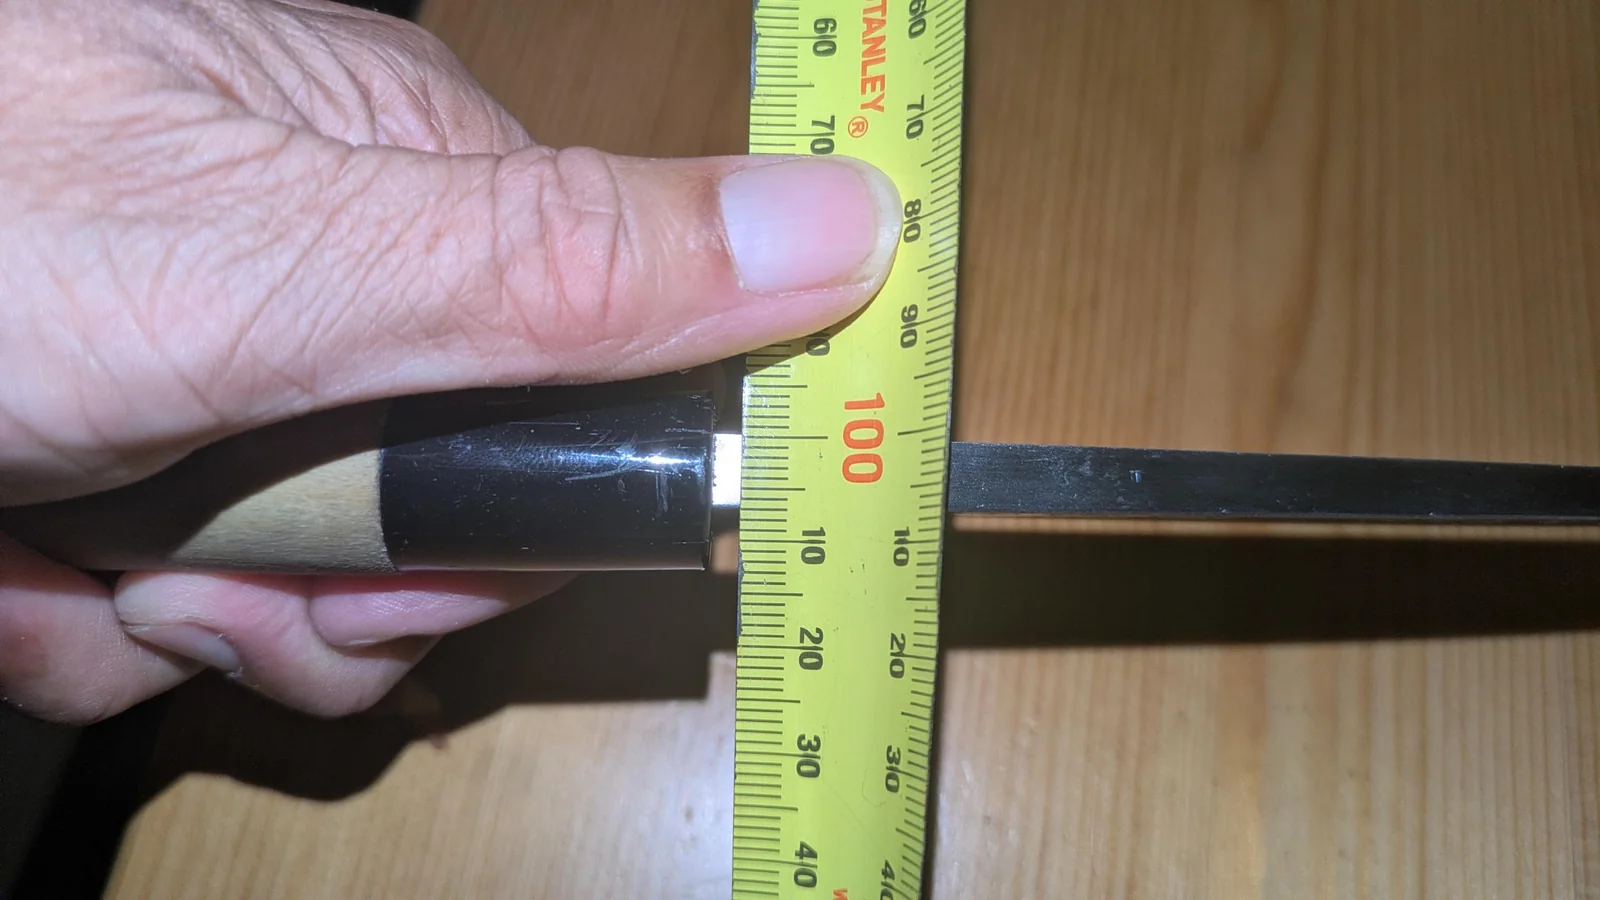
Use a caliper or ruler. If a reading is awkward, send a clear photo with the ruler in frame so we can review the visible measurement.
Do not worry about chasing a perfect-looking number. A close measurement with a clear photo is more useful to us than a confident measurement taken from the wrong place.
Tang already exposed
For an exposed tang, provide exactly three primary measurements in millimetres:
- usable length from the shoulder/seating line to the tip;
- height near the shoulder;
- face-to-face thickness at that same station.
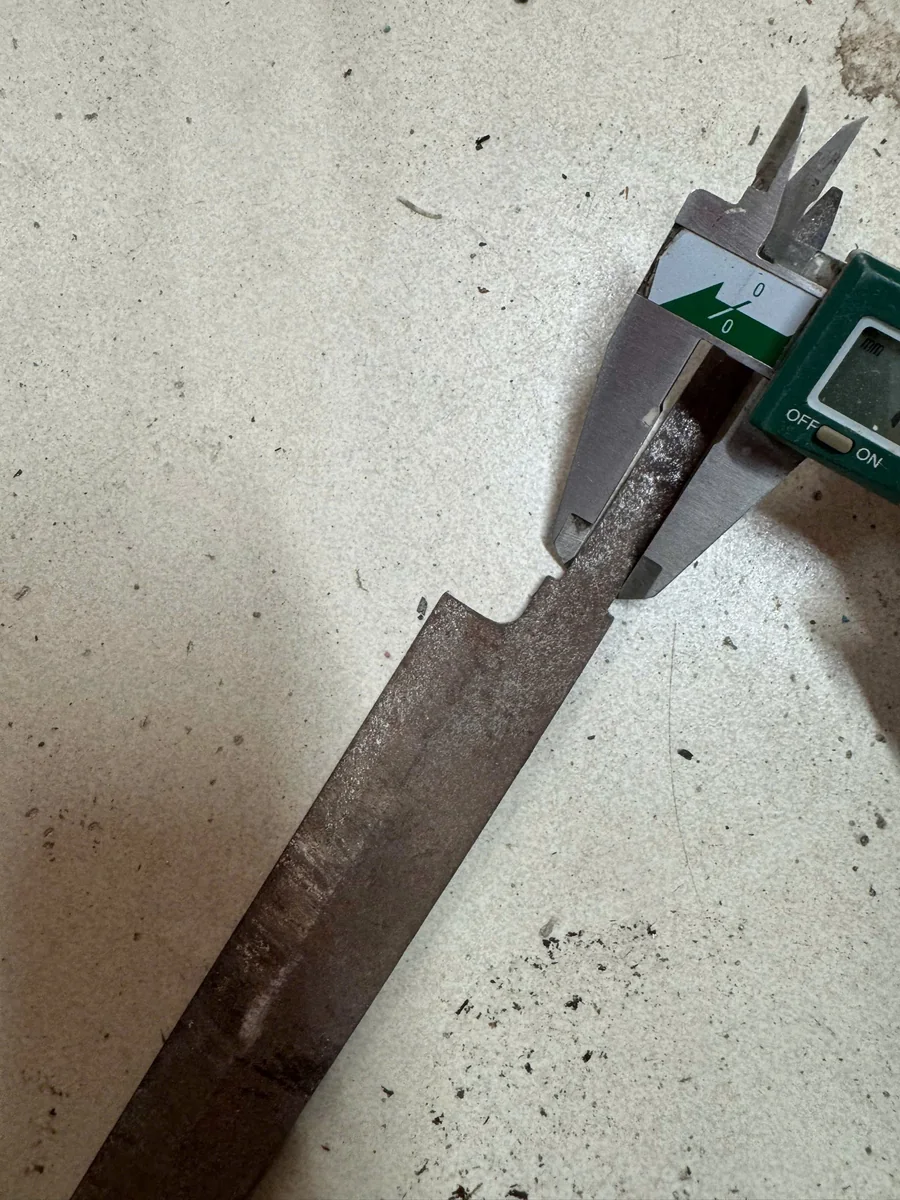
Blade length, maker or model, and the length of a handle you have removed are optional context. They do not replace these three measurements. If one cannot be measured, leave it unavailable rather than estimating.
There is no need to remove a fitted handle to recreate this situation. This section is only for knives whose handles are already off.
When the time comes to fit the replacement handle, the separate wa handle installation guide covers that process.
Can I just send a photo with a ruler?
You may send up to six photos per handle from several angles, with a ruler in frame. With the handle fitted, show the machi and visible metal; with the tang exposed, show the shoulder-to-tip endpoints and the station where height and thickness are measured.
You do not need to turn an awkward reading into a precise-looking number. A clear photo can help us review the measurement and where it was taken.
What if I cannot measure it at all?
That is also fine.
If measuring is not practical, choose a deliberately small starter socket on your order page for an eligible knife type, filed to fit by you; measurements and photos are optional.
Send photos with a ruler for the owner to read, or choose a starter socket where eligible.
- Photos received before bench start replace a starter socket choice and go to the owner for review.
Neither means you have measured incorrectly or need to dismantle the knife.
Why we ask for these measurements
Every made-to-order handle is fitted to the knife rather than cut to one universal tang size. That is why we ask for the actual knife information before making the socket.
There is also a limit to what anyone can measure while a handle is fitted: the hidden part of the tang is hidden. We do not need you to pretend otherwise.
Photos with a ruler are welcome, up to six per handle. Under the new terms, an eligible knife with nothing received three days after payment proceeds with a deliberately small starter socket, filed to fit by you; knives we fit by hand receive an email from the owner instead. You can add or correct evidence until bench start, and silence does not cancel your order.
When you have the information ready, you can use it to configure your wa handle.
For general cleaning, drying and maintenance after the new handle is fitted, see the Wa Handle Care Guide.